Showing posts with label Brushes. Show all posts

Friday, June 5, 2015

30 Hand Rolled Ink Brushes for Premium Members

Access All Areas members can now download a brand new resource as part of their membership. Jeremy Child from The Artifex Forge has kindly donated his set of 30 hand rolled ink brushes for Illustrator. They add messy realism to your designs and are ideal for line art, text, borders, backgrounds and for texturing designs and illustrations. Being Illustrator Brushes means they’re 100% vector too, so you can use them in all your projects no matter how large!


The Artifex Forge


The Artifex Forge AKA Jeremy Child has ten years design experience. He is now a full-time freelance designer, currently specialising in creating original and useful add-ons for Photoshop and Illustrator. If you need to create a realistic illustrated effect, you can be sure you’ll find the perfect resource in Jeremy’s store. He has brushes to cater for every artistic and print style.


Find out more about The Artifex Forge


30 Hand Rolled Ink Brushes for Members


30 Hand Rolled Ink Brushes


This collection of Hand Rolled Ink Brushes contains 30 textured art brushes for Adobe Illustrator. Simply select a brush from the tab and draw with the brush tool. The colour and width can be adjusted as required to create lovely textured effects in your artwork. Use them to erode away text and logos, produce a detailed background for your design, or paint with them directly for realistic hand drawn effects.


Download the source file


The post 30 Hand Rolled Ink Brushes for Premium Members appeared first on Blog.SpoonGraphics.


30 Hand Rolled Ink Brushes for Premium Members

Monday, May 25, 2015

8 Free Stipple Shading Brushes for Adobe Illustrator

I’ve been admiring some beautiful illustrations and examining the techniques the artists use to add details to their work. One popular shading method I’ve noticed is particularly prominent in apparel design and illustrations with a retro vibe is the use of stippling, where fine vector textures are added to build up tones and shade in areas of darkness. After seeing how effective this technique is, I created my own set of Illustrator scatter brushes to provide myself and my readers the tools required to create this effect. Download this free pack of 8 stipple shading brushes to easily paint grungy details onto your artwork with Illustrator’s brush tool.


8 Free Stipple Shading Illustrator Brushes


These free stipple shading brushes for Adobe Illustrator are perfect for adding grainy details to your illustrations. This popular shading technique gives your artwork a vintage tattoo or retro style comic book effect by building up tones with tiny vector textures. There’s 8 different scatter brushes available, ranging from light grain to heavy stipples with variances in spacing so you can find the best brush for your project.


How to use the Stipple Shading brushes


Illustrator


My favourite technique for using these stipple shading brushes is with a Clipping Mask. Use the Pen tool to trace an area of your illustration on a new layer, then activate the Draw Inside mode from the bottom of the toolbar.


Adding texture with Stipple Shading brushes


Grab the brush tool, then select one of the Stipple Shading brushes from the library. Go ahead and paint over your artwork to build up the tones with lots of tiny vector textures.


Troll illustration with stipple shading


You can increase or decrease the size of the stipples by adjusting the stroke weight, which helps control the density and grain size to suit your project.


Download the Free Stipple Shading Brushes 17mb


The post 8 Free Stipple Shading Brushes for Adobe Illustrator appeared first on Blog.SpoonGraphics.


8 Free Stipple Shading Brushes for Adobe Illustrator

Saturday, April 11, 2015

90 Photoshop Texture Brushes for Premium Members

I have a brand new resource for my Access All Areas members this week, courtesy of Sivioco. Brush Lab is a collection of over 90 Brushes and 5 Actions, but these aren’t your average Photoshop brushes! The problem with a typical texture brush is it doesn’t really behave much like a brush at all. Rather than being able to paint with them, you usually have to click repeatedly across your canvas, building up areas of texture click by click. With Brush Lab, Sivioco has created a unique set of Photoshop brushes that solves this problem, giving you the ability to effectively “paint” texture onto your canvas for a quicker, smoother, more natural experience.


Sivioco


Sam Jones of Sivioco creates simple tools and resources to help designers work better, faster, and smarter. His popular Creative Market store contains some exceptional resources for Photoshop and Illustrator that help you achieve sought after styles in your artwork with ease, including chalk effects, stamp effects, woodblock printing effects and painted effects.


Find out more about Sivioco


Brush Lab Photoshop Brushes for Members


Brush Lab preview


Access All Areas members have been treated to the full Brush Lab product that contains over 90 Photoshop Brushes and 5 Actions for adding cool textures to your artwork. The difference with these brushes is they’re created in a unique way that allows you to paint texture onto the canvas, allowing you to quickly and easily apply various styles of shading and ageing effects to your designs.


The pack contains loads of brush styles too, including heavy grunge, subtle grunge, speckles, halftones, scribbles and diagonal lines. The Photoshop Actions can also be used to stylize the outlines of your artwork to create a hand drawn appearance.


Download the source file


The post 90 Photoshop Texture Brushes for Premium Members appeared first on Blog.SpoonGraphics.


90 Photoshop Texture Brushes for Premium Members

Thursday, March 19, 2015

How to Create Amazing Photoshop Brushes on Your iPad

In my last article I wrote about Adobe Shape CC, one of the new mobile apps that Adobe released to the Apple iOS app store in late 2014, which allows us to capture real life elements with the device camera, convert them to vector and save them into the Creative Cloud for further use in Adobe’s desktop applications (Photoshop, Illustrator, InDesign, et cetera).


In this article we’ll be exploring a similar workflow with one of Adobe Shape’s companion apps, Adobe Brush CC. Adobe calls these “capture” apps and they’re especially useful for hands-on designers. When you’ve installed the application on your iOS device and signed in with your Adobe ID, we’ll continue with the next step — learning the interface.


FYI: I’m using an iPad for this tutorial; the iPhone interface may differ slightly.


Adobe Brush’s Interface


At first you’ll be shown My Library. I’ve come to realize that with Adobe mobile apps this is rather normal, however, Adobe Shape took me straight into the camera mode and showed me how to capture a vector, which I felt was more useful. Nonetheless, lets explore the interface while it’s here.


In the top-left corner of the device screen you’ll see the Adobe Brush CC logo — there’s nothing interesting here; only things related to Adobe and your Creative Cloud subscription.


Skip on over to the other side and there will be a three-circle icon — this will let you rename your library of brushes or select a friend to collaborate on this library with. If you’d like to create a new library, click My Library>Create New Library from the top-middle dropdown field.


So there you have it, brushes and libraries to store the brushes in.
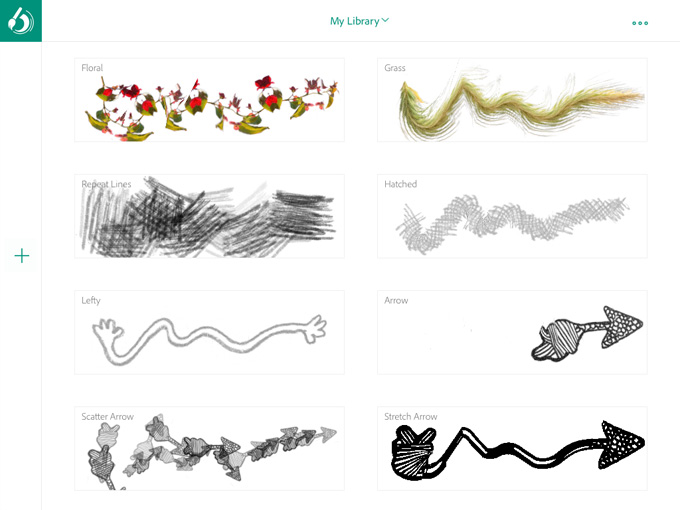

Step 1: the interface


Creating a Brush


Press the “+” icon (on the left) to initiate a capture. If you don’t already have an image in the Camera Roll or in your Creative Cloud that you’d like to use, select “Camera” and take a snapshot of your hand-drawn brush. For this exercise I applied vermilion acrylic directly from the tube (no brush) onto the canvas in my notebook, and as you can see from the screenshot below, it comes out quite thick. Choose Illustrator in the next screen and tap “Next”.


Brushes work differently depending on the application they’re used in. Illustrator brushes are vector and use the .ai filetype, whereas Photoshop uses .abr, and isn’t vector. It’s important to understand that Illustrator brushes will not work in Photoshop, and vice-versa. You’ll need to create a brush for each application.
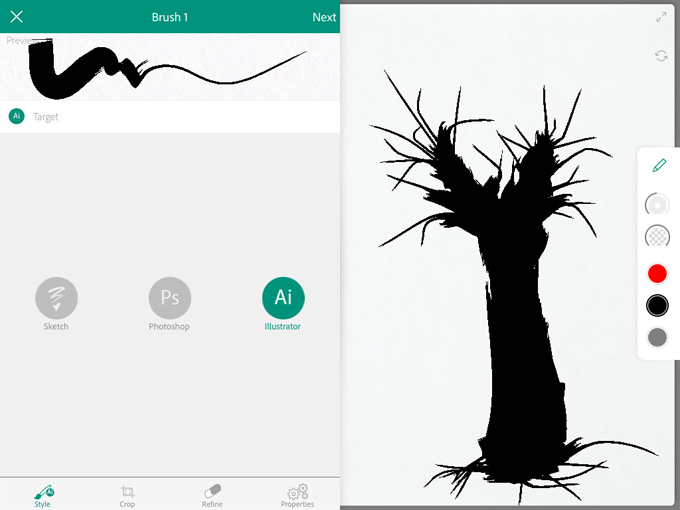

Step 2: creating a brush


Our Brush Is Like a Worm


Have you ever seen a worm and wondered which side was the head, and which side was the tail? Well, our brush is like a worm and we need to establish its anatomy. Luckily, we can use two intuitive touch gestures (panning and rotating) to clarify this; the aim here is to crop unwanted areas.


In the case of this example, I want to keep the entire thing, and so I’ve moved the capture directly in-between the Tail and Head lines. Anything outside of the Body area is cropped. Don’t worry about about the quality of your capture for now, we’ll have the chance to refine it in the next step.


Press “Next”.


Refining the Capture


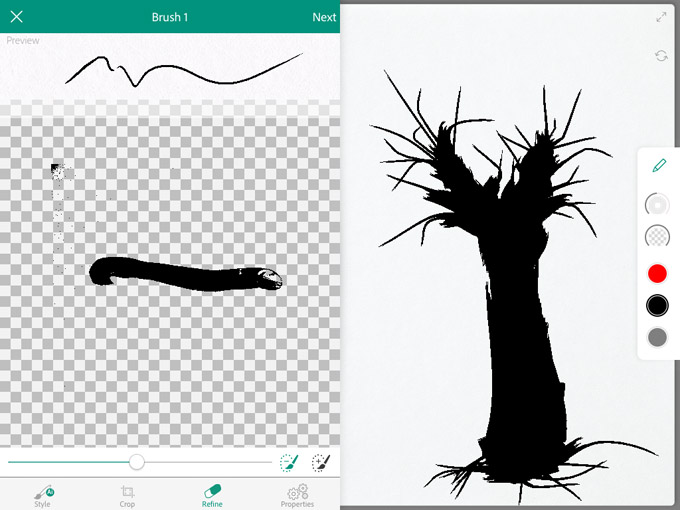
What’s most important in this screen is the Threshold scrubber. If you observe the two examples below you’ll notice the difference between low and high threshold, but this feature is available in both Photoshop and Illustrator so I’m sure you’re familiar with it. Just remember that the “Preview” (above) is how your brush will appear, and for good measure it’s always advised to test your brush on the actual canvas (right).


If something is amiss, simply erase it on the canvas with a swipe, and when you’re satisfied with it, tap “Next” again to continue to the next step.
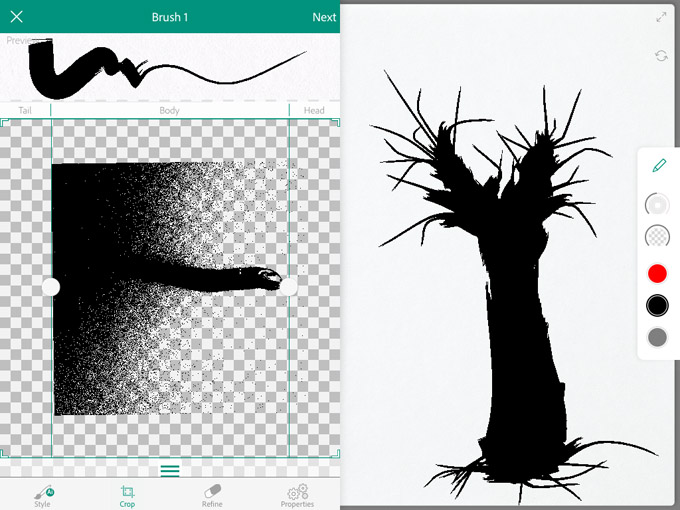
Step 3: refining the capture, low threshold
Step 4: refining the capture, high threshold


Last Minute Tweaks


In this final step we’ll be able to change both the Size and Pressure of our brush, but because this is a trial-and-error approach, you’ll need a blank canvas; the top-right icon will offer you more canvas space and the icon below that will wipe it clean. If you’re not able to yield any desirable results you can can click on Style, Crop or Refine and alter those settings again.


As you can see, I have a rather flat edge on the head of my brush and that’s caused by the combination of high threshold and bad lighting. I actually rather like it, but if you’re going for accuracy, the trick is to capture your brush in flawless lighting. Outdoor, natural light works best.
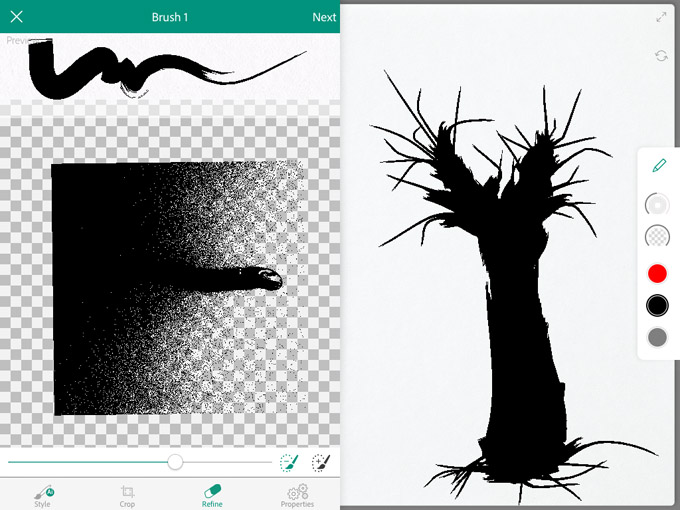

Step 5: last minute tweaks


I’ve Created a Brush, Now What?


Press “Save” — now the brush is in your library. It’s non-destructive, so you can continue tweaking and testing it later on, but in the meantime it’s automatically synced to your Creative Cloud. You can use your library assets in both Illustrator and Photoshop by navigating to Window → Libraries.


Conclusion


If you followed this mini-tutorial then you successfully made a brush using an iPad, and I think that’s very impressive. If you’re into illustration and vectors too, don’t forget to read my other tutorial on Adobe Shape CC.


Popular Photoshop Brushes


Share on PinterestShare on PinterestShare on PinterestShare on Pinterest


getpaidtowrite-banner
How to Create Amazing Photoshop Brushes on Your iPad

Tuesday, February 10, 2015

70 Beautiful Watercolor Graphics, Effects, Brushes, and More
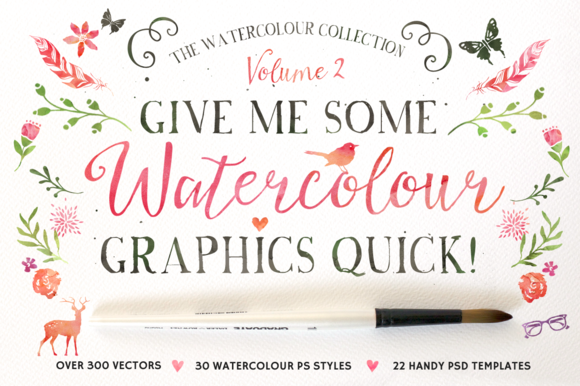
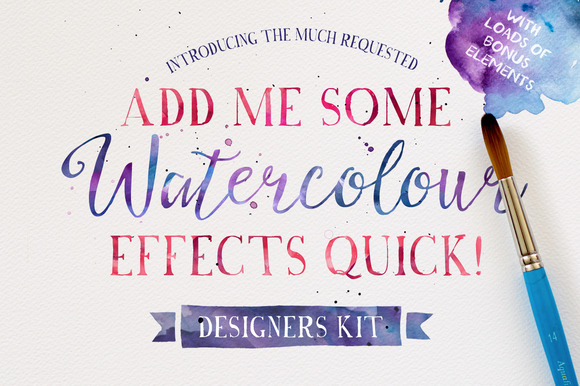
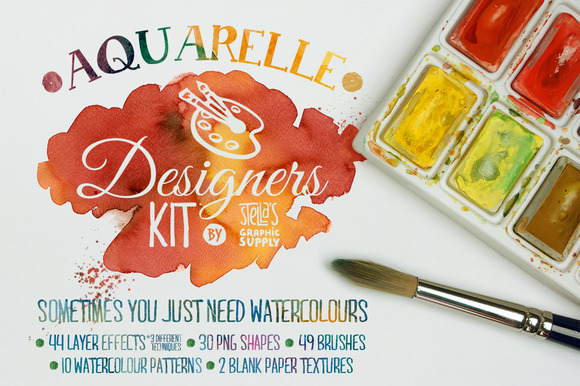
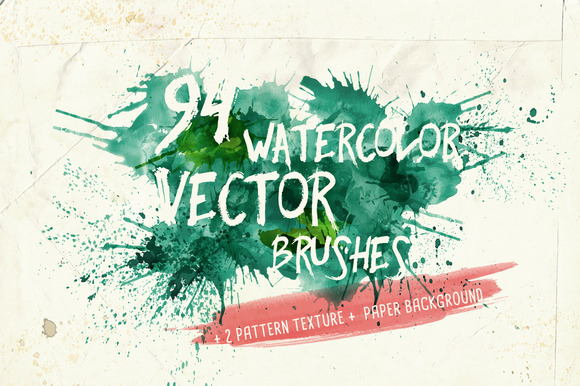
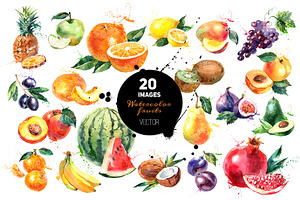
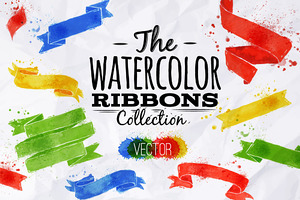
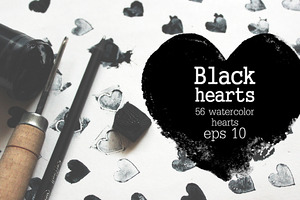
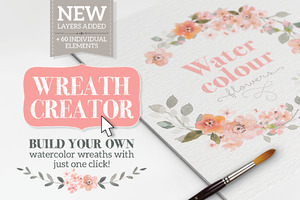
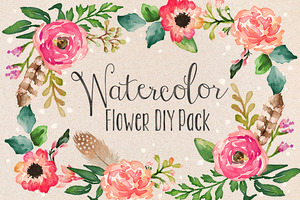
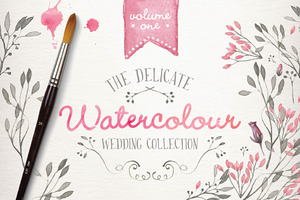
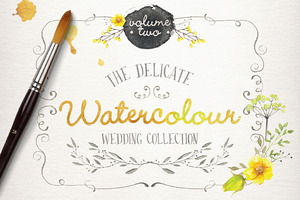
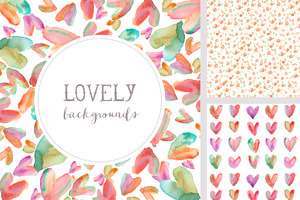
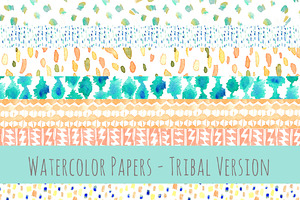
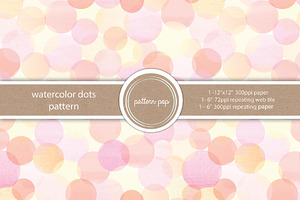
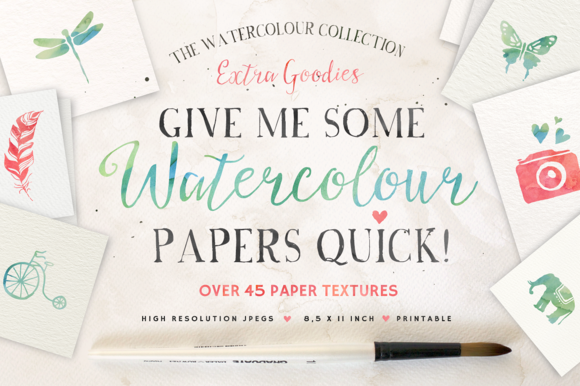
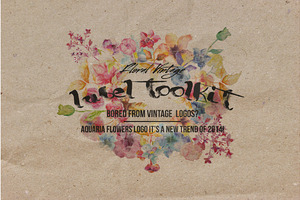
One of the hottest recent design trends is watercolor graphics. Some days it seems like watercolor brushes, patterns, backgrounds, and effects are taking over Creative Market! We finally took the time to sit down and put together this huge collection of our favorite watercolor resources. Enjoy!


Ultimate Watercolor Packs


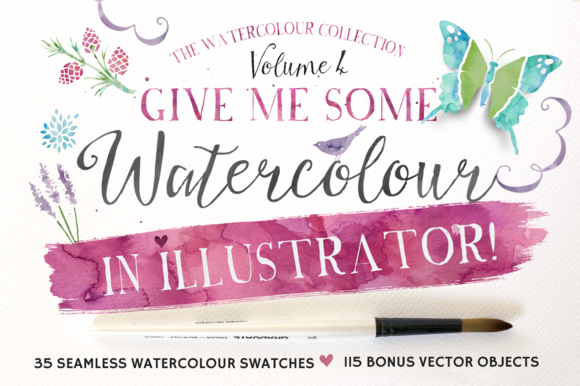
To start this collection out, here are some all-in-one watercolor packs that are overflowing with all kinds of different resources. A special shout out to both Nicky Laatz and Make Media Co. for setting the bar so high in this area and breaking a few sales records while they were at it.


Brushes


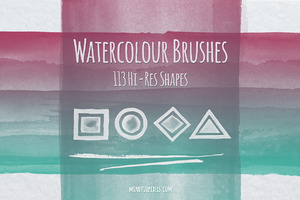
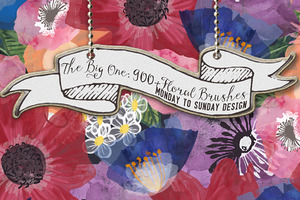
If you’re just dipping your toe into the world of watercolor-themed design, the first thing you’ll want is a good watercolor brush back. These are incredibly versatile tools that allow you to apply watercolor effects to any artwork that you create.


Vector


Most great watercolor resources you’ll find are for Photoshop, but vectors lovers need not dismay, there are still plenty of great, infinitely scalable watercolor resources too.


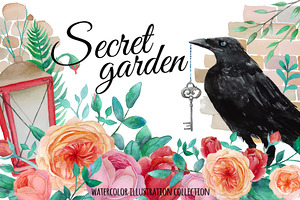
Graphics


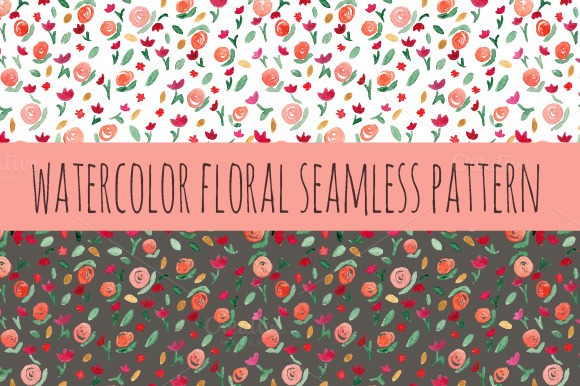
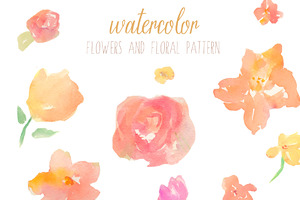
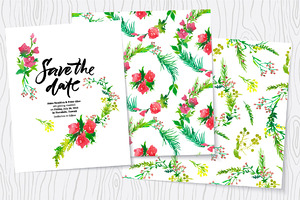
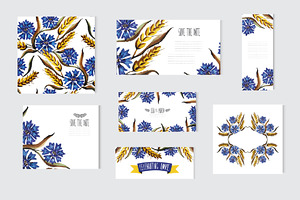
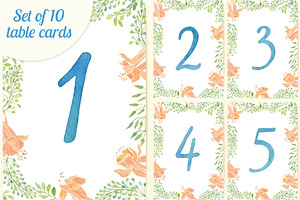
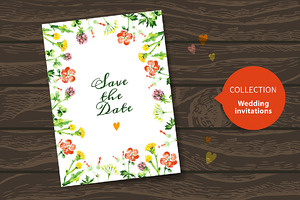
Watercolor graphics tend to share a floral theme, which you’ll see repeated in nearly all the items below. If you’re looking to bring a little bit of nature into your designs, start here.


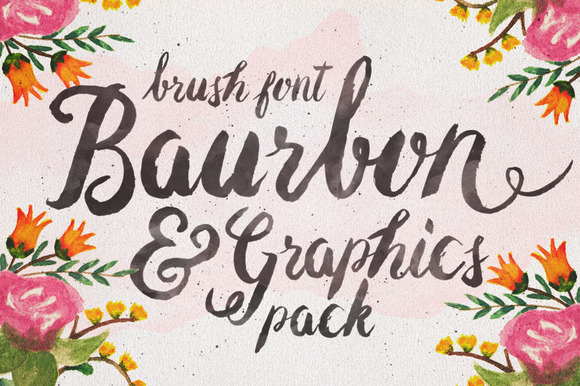
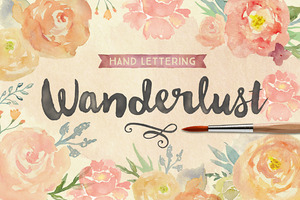
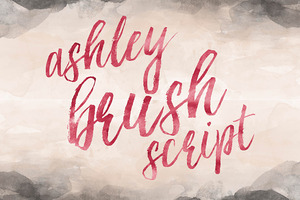
Type & Fonts


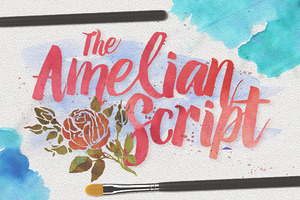
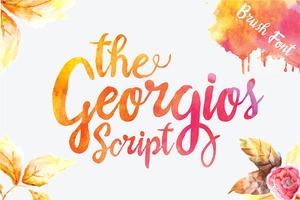
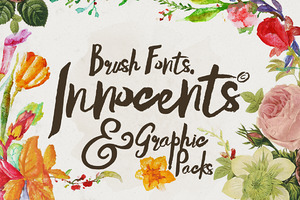
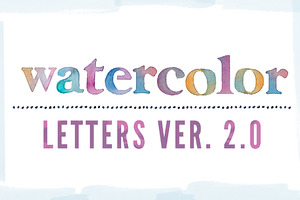
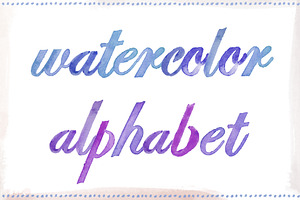
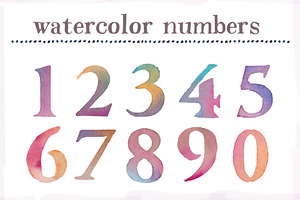
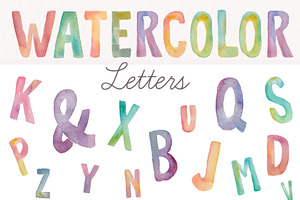
Once you’ve got your watercolor graphics figured out, it’s time to think about type. You can’t just choose any old font either. In order to really hit that watercolor feel for your type, you need something with a thick, brushed feel. Here are some fonts and lettering packs that nail this aesthetic.


Patterns


The next two sections have you covered in the watercolor background department. We’ve got patterns and textures aplenty.


Backgrounds and Textures


Effects


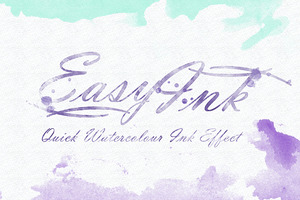
These watercolor effects will allow you to take existing artwork/photographs and apply a watercolor feel. These are really useful for bringing all your best resources into watercolor realm.


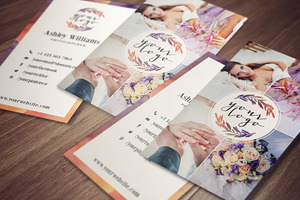
Mockups & Templates


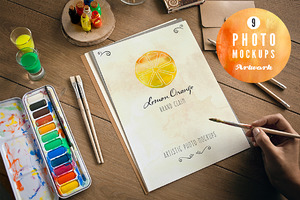
To finish out our huge roundup, here are some great scene mockups and file templates with a watercolor aesthetic. These will help you show off all your watercolor artwork in a usable format.


70 Beautiful Watercolor Graphics, Effects, Brushes, and More