Showing posts with label Beginners. Show all posts

Thursday, June 25, 2015

Hand Lettering for Beginners

Hand lettering can appear to be a daunting task, but when you break it down to the fundamentals, it’s simpler than it seems. So let’s talk about how to define it, what materials to use, and all the steps involved. By the end, you’ll be able to create unique lettering for anything from greeting cards to comics, invitations, or even banners for special occasions.


Let’s start with the most basic: what is lettering? Despite what many think, it’s a very different art from calligraphy, which is essentially writing at its most graceful. Think of it like this…


Calligraphy is about perfecting the motions of your pen.
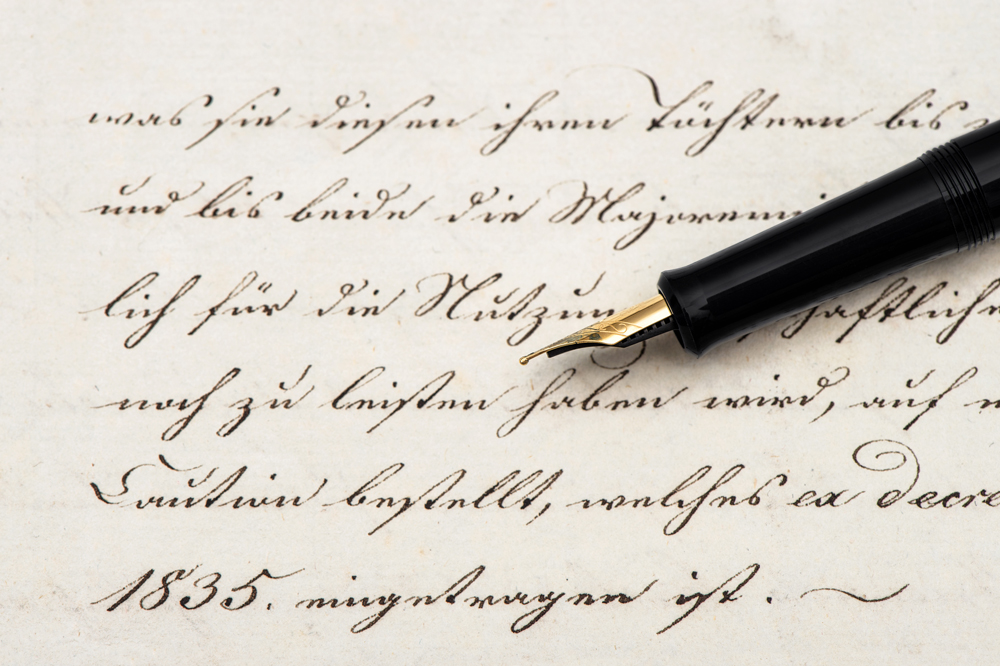

calligraphy-1 


Lettering is essentially drawing. Or draftsmanship, depending on how precise you choose to be.


calligraphy-2 


As such, you can use virtually any materials for it, but different ones will yield different results and take different skill levels to master. Let’s go over some of them.


Materials


First, for all but the most freeform of projects, get a ruler. You’ll need it to plot the overall shape of your piece before sketching the letterforms, make grids, and block off your letters so they’re spaced appropriately.


Paper


You’ll also need something to draw on. There are three most common types:


Plain Printer Paper: For less formal projects, or in the planning stages, it’s perfectly fine to use this. It’s cheap, good for getting ideas down, and can be used for anything you won’t need a hard copy of after you scan it. And later, we’ll also explain a neat trick you can use with it that can cut down on time and effort if you feel like you’re struggling. However, it’s very acidic and will yellow with time, so don’t use it on anything you want to preserve for a while.


Bristol board: If you want to give your piece some weight and endurance, Bristol board is an excellent choice. It’s also perfect for framing. If you choose this, you’ll then be faced with the choice between vellum, with a softer matte finish, and plate, which is smooth and shiny. It’s generally said that vellum is better for pencilling, where plate is better for inking. Inks are more likely to bleed on vellum, but plate is known to smear pencil lines with the slightest touch.


Grid Paper: If you’re particular about making sure your lines are straight, or if you’re planning on finalizing your project via computer, grid paper can save you a lot of time on the blocking stage. It’s also fairly cheap and very easily available.


Pencils and Pens


It doesn’t matter what kind of pencil you use for the layout and sketch stages. Some of the world’s most talented letterers use #2’s or ordinary mechanical pencils for the layout stage. And similarly, ballpoint pens can be used for quick sketches, informal projects, or anything you want to have an intentionally messy feel.
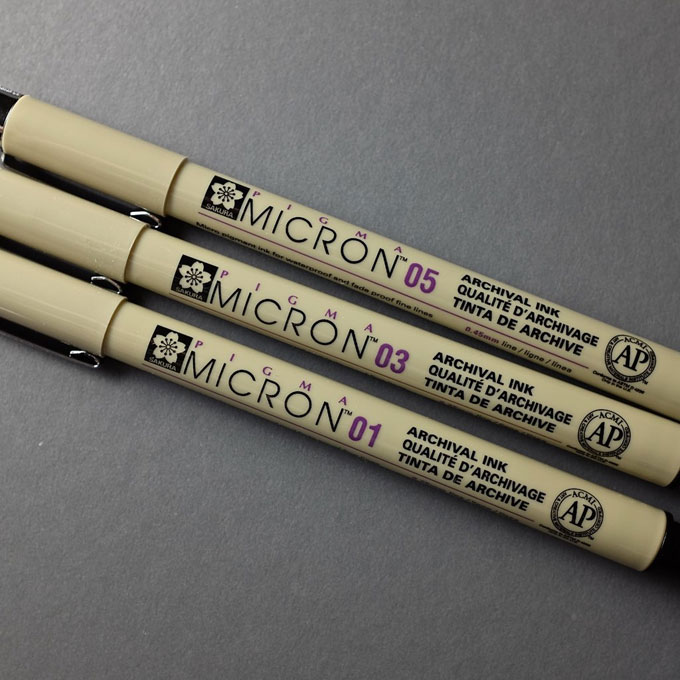

The-Marmot 
Image by “The Marmot”


For intermediate inkers, archival markers, like Pigma Microns and Prismacolor Premiers, are a solid all-around choice, being easier to control than a dip pen but more professional than ballpoints. They do have a major drawback, though: each pen gives you just one line weight. In other words, it takes a pack of markers to do the job of one dip pen, and this can get expensive. However, it’s worth noting that some, like the chisel-tip and brush-tip, provide more variety than the fixed-width ones.
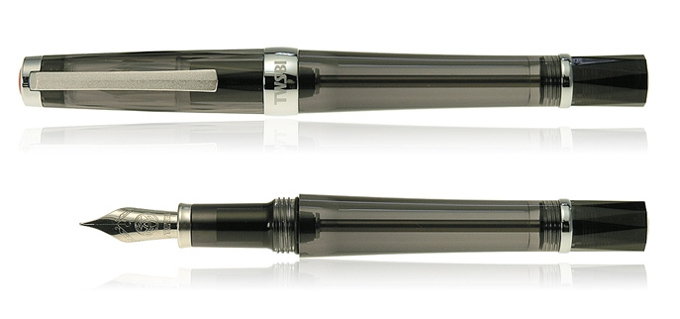

Chris-Lott 
Image by Chris Lott


Let’s move on to dip pens. They’re high-maintenance, needing to be washed and cared for regularly, but the professional result they give is worth it. Drawing with them could be the focus of a whole separate article, but the basics are that you need to the right balance of ink—enough to ensure a good flow, but not so much that it leaks and splatters—and the right balance of pressure. it takes a light hand—if you press down too hard, you can bend the nib, which will ruin it—but you also need to move with confident strokes. Also, each side of the pen creates a different line weight and will move in different ways, so you’ll need to learn to use each one.


calligraphy-3 


Technical pens are for truly dedicated and detail-oriented users. They’re not just expensive but high-maintenance, requiring you to change the ink cartridge, take care not to break the often tiny nibs, and clean them regularly to prevent clogs. However, in the right hand, they can create incredibly delicate and precise lines.


Steps in the Process


In short:


  1. You pick out the fonts you’d like to use (or sketching out your own beforehand)

  2. You measure and block out your piece so that your letters are all spaced as you like

  3. You hand-ink your piece or scan it, then finish in a vector program

Preplanning


First, a hand-lettered piece can serve many purposes, so what would you like yours to say? And what letter style would you like to use? If you already have in mind the words and character styles you plan to use, all the better. Now, the more complex the design you’ve plotted out, perhaps with some flourishes surrounding your lettering, the more you’ll need to plan ahead.


The first thing to determine is the theme and overall feel that you want to present in your piece. This will both help you find attractive and thematic fonts, but also the decorative elements that you might use to accentuate them.


There’s nothing wrong with imitating a font you’ve seen before, in fact, when you’re new, it’s probably a good idea to print some out to use as reference (this is also part of the trick we’ll explain later) at the size you want them to appear in your piece.


Measuring


First, decide on the overall shape of your piece. For your first few times, you might want to stick to a rectangle, but once you’ve got some more practice under your belt, you can start experimenting with a wide variety of different shapes.


Create the baseline you’ll draw your text on top of, then evenly space horizontal lines to block off where you would like your letters to go.
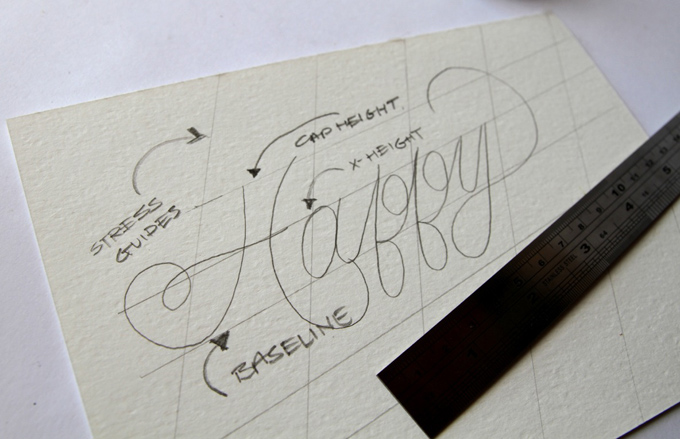

A-Pair-and-a-Spare 
Image from A Pair and a Spare


The Pencil Sketch


First, you start to lightly sketch a rough outline of each letter, just so you know how large each one is going to be. If you’ve done your blocking correctly, you should have a much easier time with this stage.


Workturn-2 

Image by Workturn


Or, you can use that trick we mentioned earlier: a graphite transfer. Basically, you take a pencil or a graphite stick, rub it against the back of what you want to transfer, lay it down, then draw over what it is you want to copy, transferring a light image of it onto the page.


Once your initial rough is done, go over it again to solidify the letterforms’ final shapes. Remember that you only want to draw the outline of the letters. If there are portions of solid black, don’t fill those in. Too much graphite can show through your ink and clog your pen.


Inking
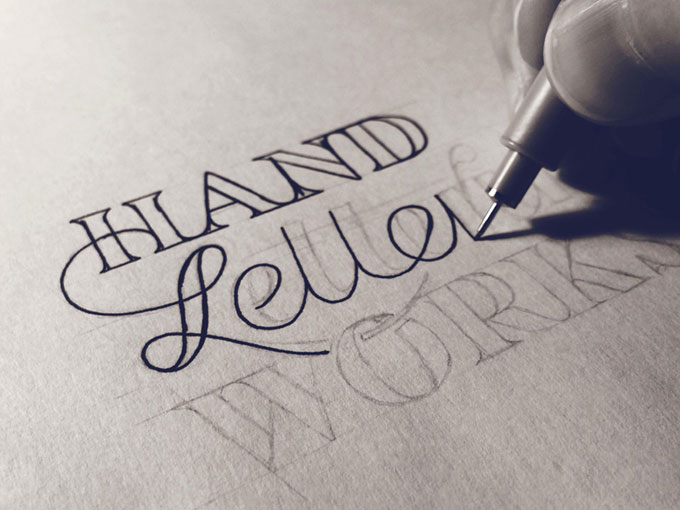

Sean-Wes 

Image by Sean McCabe


Trace over the lines and fill in the black areas with your pen. To avoid smudging your pencil lines, tape a piece of paper or plastic over the area that you’re not working on. This way, your hand will rest on the cover sheet instead of the drawing itself.


Once you’ve got everything filled in, let it completely dry before fixing anything. If you’re using Bristol board, don’t use correction fluid to fix mistakes: it isn’t quite white, so correction fluid will stand out against it. And even if you are using white paper, a a white gel pen that’ll dry flat is better than correction fluid that’ll often dry lumpy.


Scanning and Cleaning Up


If your paper is too large to be scanned in one fell swoop, Photoshop can take multiple scans of different parts of a piece and automatically composite them into one continuous image. If you don’t have Photoshop, Microsoft ICE can do the same thing for free.


Once it’s in, if you’re planning on using your lettering as an isolated graphic, there are plenty of ways to separate it from the background, especially if your design is fully inked, creating an even contrast and sharp lines you can pull out via the Color Select or Magic Wand tools.


Conclusion


Hand-lettering is a lot like any other form of drawing, but with letters as your subjects and font sheets as your reference material. Get some basic materials, start practicing, and you’ll be well on your way to creating unique and personalized text for any occasion. Reading up on some basic drafting definitely won’t hurt either.


Got any questions? Other tips or resources? Leave us a comment.


Products Seen In This Post:


getpaidtowrite-banner
Hand Lettering for Beginners
Thursday, June 11, 2015

Our Free Ebook is Here: The Beginner"s Guide to Branding

Why do some brands take a piece of our heart? What is it about their design that makes us feel connected, amused… delighted? Most importantly, how can we create such a brand? We asked the same questions, and gathered dozens of useful tips from top designers to collect their very best advice in this free ebook.


Download it now →


What you’ll find inside


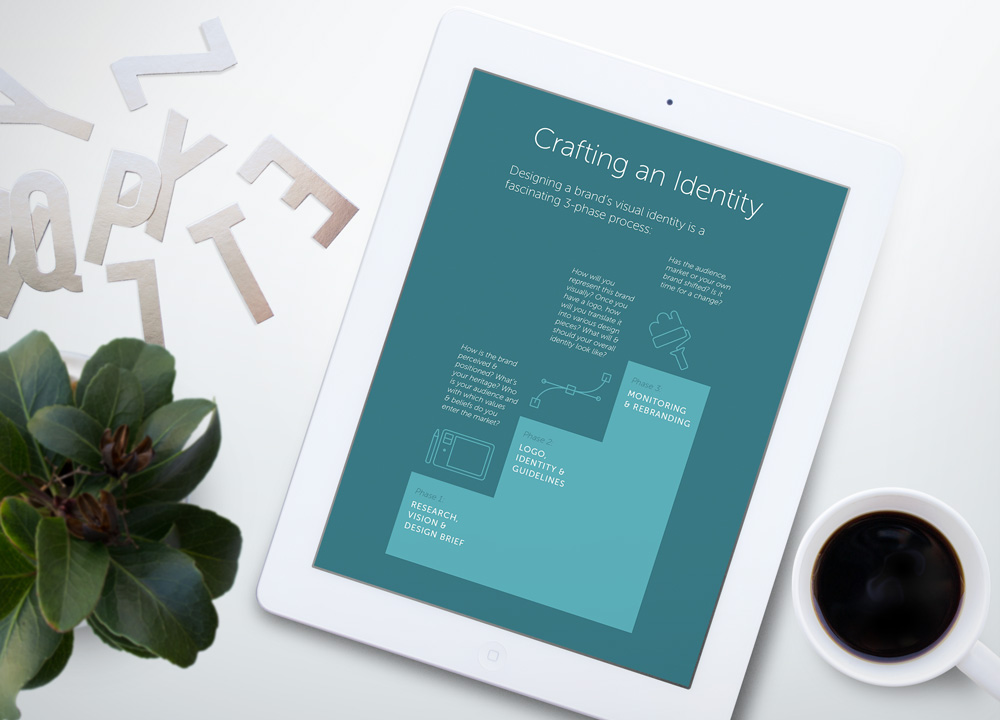
We’ve prepared six chapters complete with inspiring examples and handy templates. By the time you’re done reading The Beginner’s Guide to Branding, you’ll know exactly:


1. What is branding


You probably hear the term branding being tossed around a lot. But, what exactly does it mean? This chapter includes insider advice for developing strong branding elements.


identitychapter


2. How to figure out an effective name


Struggling to come up with a name for your new product or service? Learn how to brainstorm potential name ideas and choose well with these actionable tips.


3. How to design a strong visual brand identity


One of the most interesting projects that a graphic designer can take on is designing a logo. This chapter helps you understand the difference (and relationship) between a brand, an identity and a logo.


4. How to choose ideal color palettes & typography


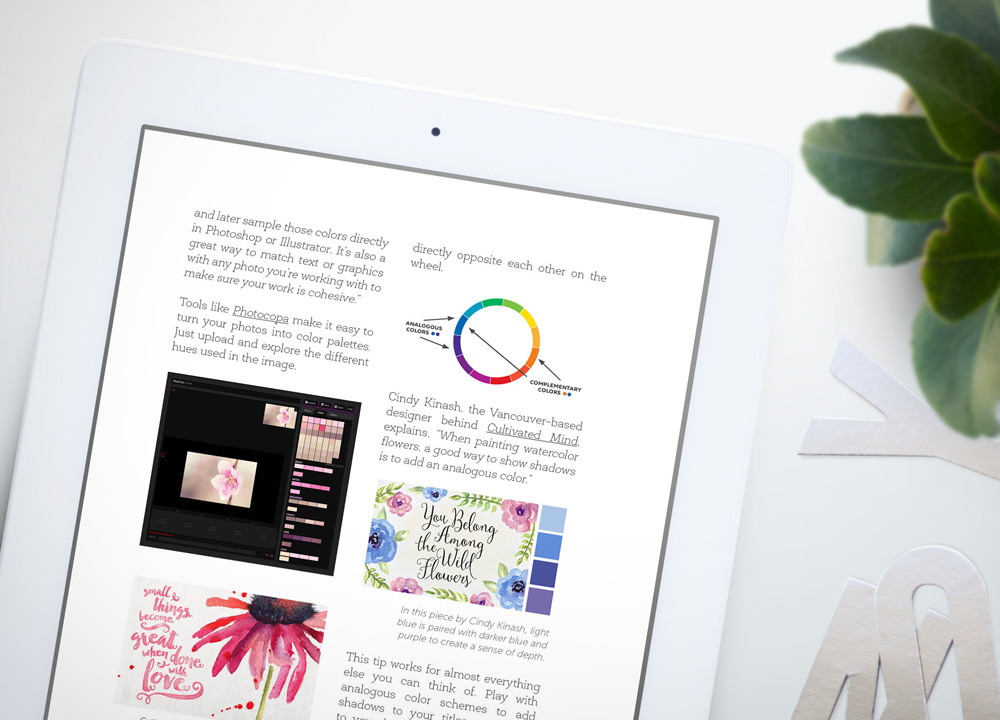
Select brand-appropriate color schemes and fonts that help convey your message. Certain hues carry powerful associations that send certain signals to your users. Learn essential color tricks from top designers.


colorchapter


5. How to create memorable brand applications


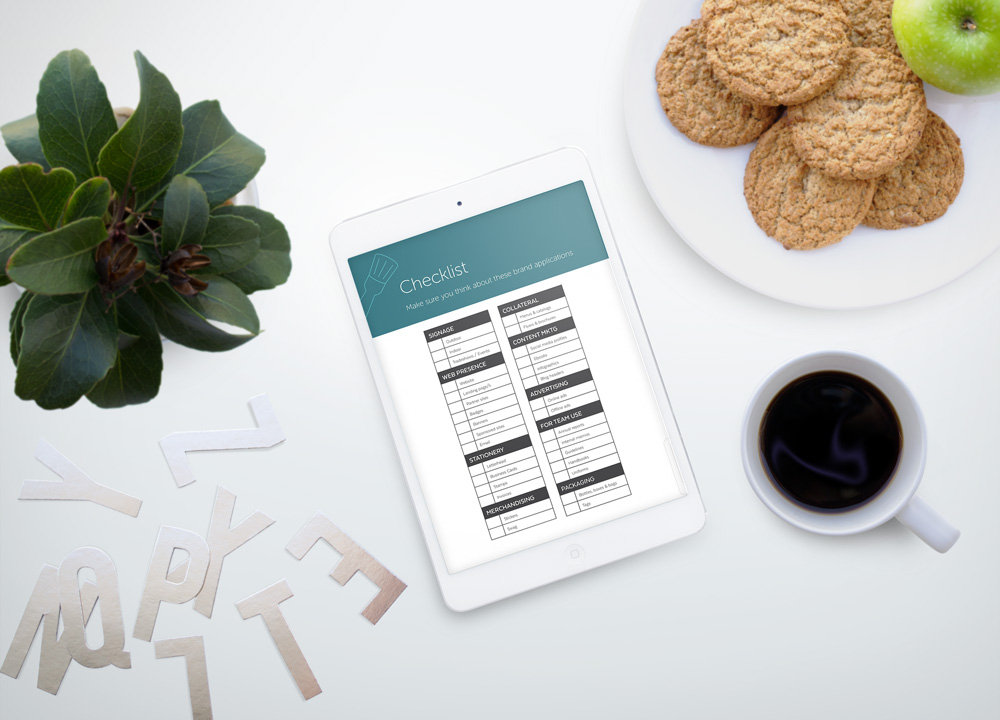
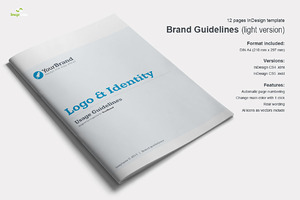
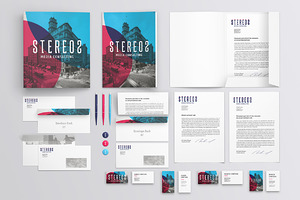
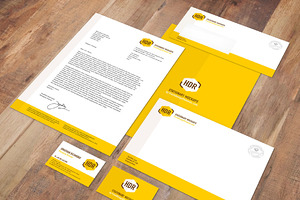
Leave a lasting impression with impactful letterhead, brochures, business cards and other applications. This chapter features dozens of tips to cut down design time and share your story with compelling marketing materials.


6. How to bring in your brand’s voice in design pieces


Ready to go live? Differentiate your brand from competitors with a unique personality. Learn how to incorporate a genuine voice and turn your online presence around in no time.


applicationschapter


But wait… there’s more! (9 free resources)


We are also thrilled to share 9 free resources that will help you get started with your brand’s style guide in no time. We’ve included mockup kits, stationery sets, brand manual templates and other exciting assets to speed up your brand development process. All you need to do is share this free ebook with your friends, family & colleagues using the link over at creativemarket.com/ebooks/branding.


We hope you enjoy this free ebook and let us know your thoughts below. Ever tried creating your own brand identity? Found something in this guide that you didn’t know before? Comment away!


Products Seen In This Post:


getpaidtowrite-banner
Our Free Ebook is Here: The Beginner"s Guide to Branding

Monday, June 8, 2015

Beginner’s Guide to Regular Expression (Regex)

A regular expression is a set of characters forming a pattern that can be searched in a string. Regex can be used for validation such as to validate credit card numbers, for search i.e. via complex text matches, and for replacing matched text with another string. It also has great multiple language support – learn it once and you can use it across many programming languages.


I"ve seen few people take a first look at regex, and ignore it completely. I don’t blame them; regex"s syntax is complex and will make many cringe just like those command line languages, only worse. But then every new thing is scary and seem impossible to learn at first. So, borrowing Horatius" words I"ll say this; Begin, be bold, and venture to be wise.


About Regex


Regex had its roots in neuroscience and mathematics and was only implemented in programming in 1968 by Ken Thompson in QED text editor for text search. Now it"s part of many programming languages like Perl, Java, Python, Ruby, and JavaScript.


Let’s look at some examples on how regex works.


I"ll be using JavaScript in my examples. Now, to pass beginner level, you need to learn all the characters, classes, quantifiers, modifiers and methods used in regex. Here"s a link to Mozilla Developer Network"s Regular Expression page where you can view a table containing all those. You can also refer to the cheatsheet at the end of this post with most used characters.


Let’s see a simple example with an explanation. This is a regex.


This is what the above regex will look for in a line, a character "B" followed by at least one of any character between (and including) "a" to "z", "A" to "Z" and numbers 0 to 9.


Here"s a sample of matches in a line highlighted:


Basket, bulb, B12 vitamin, BaSO4, N BC company


The above regex will stop the search at
Basket
and return a positive response. That"s because the global modifier "g" has to be specified if you want the regex to look into all the possible matches.


Now, let"s see how to use this expression in JavaScript. The test method goes: if found a match return true, else false.


var input = "your test string", regex = /B[a-zA-Zd]+/;
if(!regex.test(input))
alert("No match is found");
else
alert("A match is found");

Let"s try another method: match returns the matches found in an array.


var input = "your test string",
regex = /B[a-zA-Zd]+/g,
/*I"ve added the global modifier "g" to the regex to get all the matches*/
ary = input.match(regex);
if(ary===null)
alert("No match is found");
else
alert("matches are: " + ary.toString());

How about string replace? Let"s try that with regex now.


 var input = "your test string", 
regex = /B[a-zA-Zd]+/g;
alert(input.replace(regex, "#"));


Below is a codepen for you to tweak. Click the "JavaScript" tab to view the JS code.


Exercises


For exercises, you can google “regex exercises” and try solving them. Here’s what to expect when attempting these exercises, according to difficulty levels.


Basic


To me being able to validate a password is enough for starters. So, validate a password for 8 to 16 character length, alphanumeric with your choice of special characters allowed.


Intermediate


This is where you should practice with more real world data and learn few more regex points like lookahead, lookbehind assertions and matching groups;


  • Validate PIN codes, hexadecimals, dates, email ID, floating point.

  • Replace trailing zero, whitespaces, a set of matching words

  • Extract different parts of a URL

Advanced


You can optimize the above exercises" solutions – the most optimum regex for email has thousands of characters in it – so take it as far as you feel comfortable with and that"s enough. You can also try:


  • Parsing HTML or XML (eventhough in the real world it is discouraged to do so because using regular expression to parse non-regular language like HTML will never make it foolproof. Plus XML parsing is a difficult task, more suitable for advanced level users)

  • Replacing tags

  • Removing comments (except the IE conditional comments)

Tools


Tools to visualize regex are one of the coolest things out there for me. If you ever come across a long complex regex, just copy paste them into one of those tools and you"ll be able to view the flow clearly. Besides that, there are many tools that you can use to fiddle with the regex code. They also showcase examples and cheatsheets along with share features.


  • Debuggex – It draws a regex diagram as per your input and you can make a quick share to StackOverflow right from there.

  • RegExr – You can test your regex with this one. It also got reference, a cheatsheet and examples to help you out.

  • Refiddle – At the moment, other than JavaScript, you can also fiddle with Ruby and .NET versions of regex in it.

Regex Cheatsheet


TokenDefinition
[abc]Any single character a, b or c
[^abc]Any character other than a, b or c
[a-z]Character between(including) a to z
[^a-z]Character except from a to z
[A-Z]Character between(including) A to Z
.Any single character
sAny whitespace character
SAny non-whitespace character
dAny digit 0 to 9
DAny non-digit
wAny word character (letter, number & underscore)
WAny non-word character
(…)Capture everything enclosed
(a|b)Match either a or b
a?Character a is either absent or present one time
a*Character a is either absent or present more times
a+Character a is present one or more times
a33 occurences of character a consecutively
a3,3 or more occurences of character a consecutively
a3,63 to 6 occurences of character a consecutively
^Start of string
$End of string
bA word boundary. If a character is a word’s last or first word character or If a character is between a word or non-word character
BNon-word boundary

Now Read:
Regular Expressions: 30 Useful Tools and Resources


Beginner’s Guide to Regular Expression (Regex)