In the final quarter of 2014, Adobe released a number of new apps on the Apple iOS App Store. One of those was Adobe Shape CC. In this article, we’ll explore the ways in which we can capture and edit high-fidelity vectors from real-life moments using the device camera on either an iPhone or iPad. We’ll also be able to save these captures in our Adobe Creative Cloud for further use in Photoshop, Illustrator, InDesign or the new Illustrator Draw.
Capturing the Light
Before we even open the app, it’s important to be in a well-lit area; this will improve the quality of our capture and save us a lot of time trying to edit rubbish vectors. Clear and concise shapes work best, this means that clouds in the sky won’t look as elegant as say a hand-sketched illustration with a fine liner. In fact, I’d still recommend using a digital SLR camera and image tracing the result in Adobe Illustrator for photo-realistic captures.
When you’re ready, take a snapshot.

Step 1: take a snapshot with the device camera
Altering Our Capture
Before Adobe Shape converts our image to vector, we have two options that we can tweak to improve the capture. First, there is an icon that switches between Shape on light background and Shape on dark background. Dark background works more closely with the outline of our hand-drawn capture, whereas light background converts the areas we actually sketched — you can observe the differences in the two resulting images below.
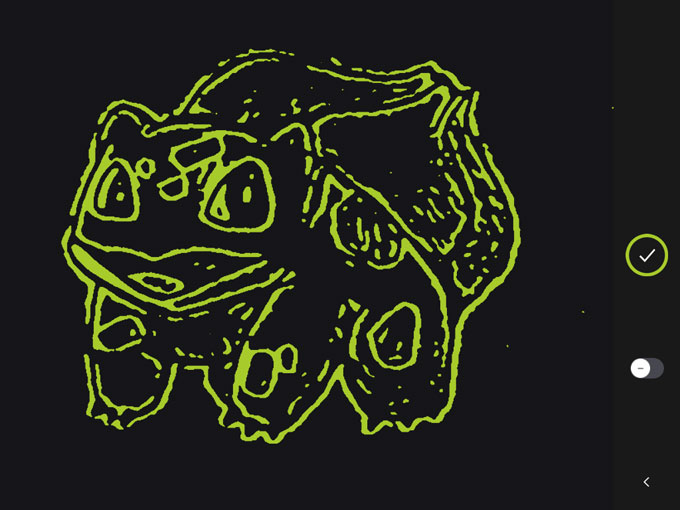
Step 2: capture on a dark background
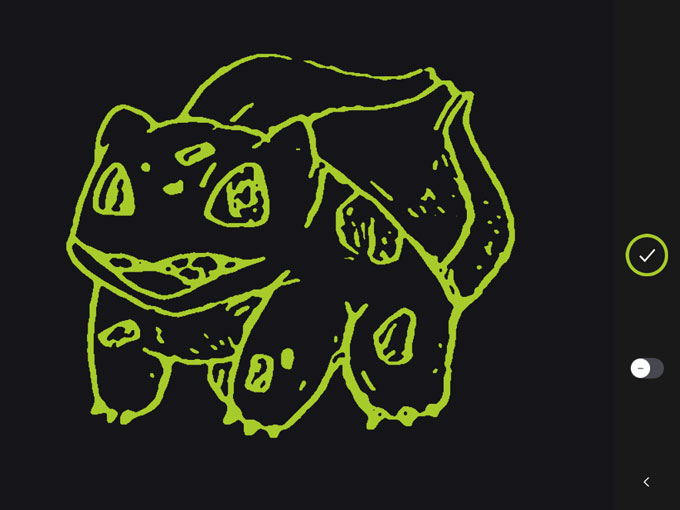
Step 3: capture on a light background
In the second option, we have a scrubber that will alter the threshold of the capture. Photoshop has this setting under Image>Adjustments>Threshold, and Illustrator can accomplish this with Image Trace, but Adobe Shape CC will let us alter the threshold directly after the capture.
Don’t be too disappointed by the result at this stage. Remember, the shape hasn’t been refined yet, the real magic is still to come.
Removing Unwanted Elements
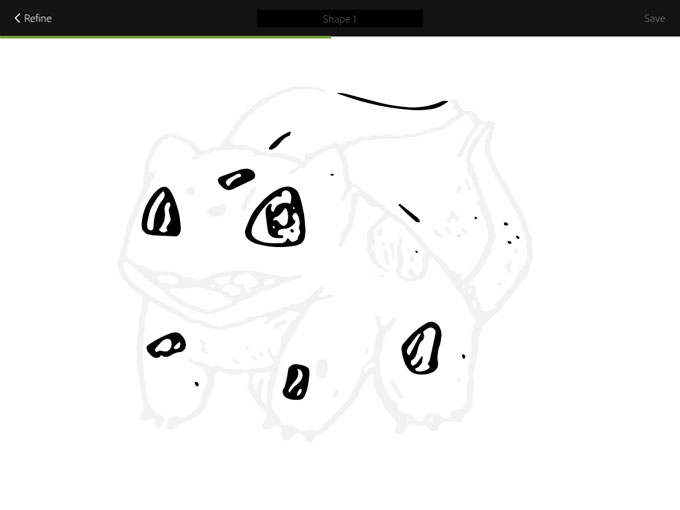
When you’re done altering the image threshold, tap the green circle to continue. In this next screen, you’ll be offered the chance to remove any unwanted aspects of the shape before the vector is refined, which you can do by simply selecting the undesired blemish on the canvas.
If there’s only a tiny aspect of the shape that you require, switch the toggle button to “+” — this means “yes, we’ll keep only this part” instead of “yes, we’ll delete this part”. Tap the circle/tick icon when you’re ready to continue.
Refining Our Vector Shape
Now sit back while Adobe Shape refines our vector. It’s actually quite entertaining to watch, and it’s hard to resist the temptation to capture random shapes just so we can watch them being drawn.
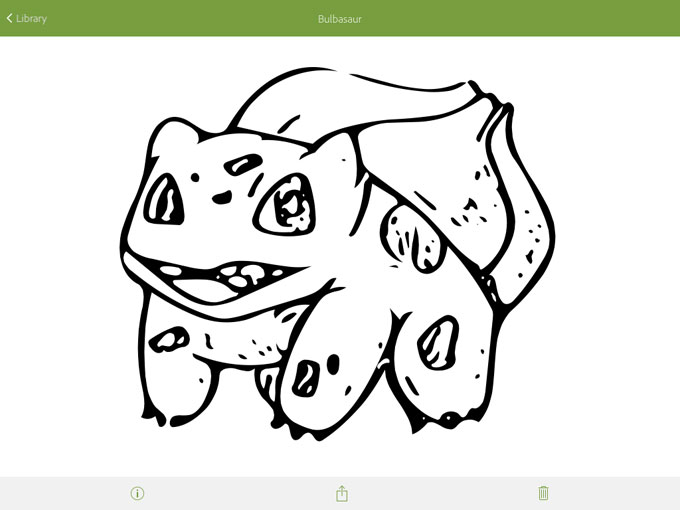
Step41: refining our vector shape
When the refinement is complete, you’ll notice a drastic improvement in quality; Adobe Shape will also ask you to name this vector, and when you do so, it’ll be available in your Creative Cloud account under Libraries.
Great, What Now?
You’ll automatically be taken to the library and your first vector should be inside it. Here, you can look at your vector in more detail, create another vector, or invite other Creative Cloud members to collaborate in your library. Now select your vector and lets see what we can do with it.
Step 5: using our vector in Photoshop
We have three options: Rename, Share and Trash. Although we can share our vector via email, iMessage, Twitter and so on, it will be a JPG version. I was quite disappointed, but not shocked by this. Creative Cloud is, after all, a subscription-based service, and this is Adobe’s way of ensuring that the free mobile apps are being used by subscribers and not freeloaders.
In any Adobe desktop application like Photoshop, InDesign or Illustrator, you can open a file stored in the Creative Cloud library by navigating to Window>Libraries and dragging the vector onto the canvas. Just make sure that your application is running the newest Creative Cloud updates, because Libraries and SVG support are both new features.
Photoshop? SVG? Huh?
Photoshop CC has supported SVG files since its last update on the 6th October 2014. If we wanted to use our vector in a non-Adobe application (for example Sketch App 3) we could make use of Photoshop’s new Extract Assets feature to export the SVG onto our desktop. Illustrator of course fully supports opening, editing and exporting SVG files splendidly.
Conclusion
Adobe Shape CC is an excellent, time-saving mobile app for designers that work with vector, especially for Creative Market shop owners that seek inspiration from anywhere and everywhere. If you’re ever away from the computer and you come across a shape that inspires you, or you’ve drawn something and you’re not near a scanner, use Adobe Shape, capture your moment, and it’ll be waiting for you in the Creative Cloud later.

How to Capture Vectors on Apple iOS with Adobe Shape CC
No comments:
Post a Comment
Note: Only a member of this blog may post a comment.