Showing posts with label Project. Show all posts

Thursday, April 23, 2015

Be: Learn How to Spend Less Time on Each Web Design Project with Pre-Made Layouts

Don’t worry: you no longer have to outsource different parts of your web design projects. You can now transform your client’s project into reality by yourself, without coding, using a multi-purpose WordPress Theme. Focus instead on developing your creative skills. In the end, no matter what you read or others tell you, it’s the front end that counts the most – the design of the website.


Why bother considering it?


Not only does a multi-purpose WP theme save you time and money, but it also gives you the freedom to be creative. Therefore, build a list of productivity habits and put this on the top of your list. Discipline is another thing that you should add on that list. Most if not all successful web designer have a fierce work discipline. Another productivity hack is to construct a set of questions that can be easily applied to any project. Here are some examples:


  • What are the tools that I need to complete the project as fast as possible?

  • What is the layout that best fits my client’s desired outcome?

  • How can I limit coding to the bare minimum?

Case Study: Be Theme


1

We have chosen Be Theme for our case study. It’s a Multi-purpose WP Theme and Themeforest Top Seller. Be Theme has more than 100 beautiful pre-made layouts that cover every area of activity that you can think of: from sport, plumbing to PR and politics. No matter who your client is, Be has you covered. It’s one of the most versatile WP themes out there.


As it was written above, Be offers a massive amount of pre-made layouts that can be effortlessly adapted to any web design project that you have. Below, we’re going to show you how easy it is to install one and start editing it.


Step 1- After installing Be, click on BeTheme Demo data.

22

Step 2 – Scroll and select your pre-made layout, then click on “Import Demo Data”.

32

Step 3- Congratulations, you have now imported a pre-made layout. Go in the Pages screen of your WordPress dashboard and start editing it. You can use Visual Composer or Muffin Builder for the task. You can even use them both at the same time.

42

To sum up, installing a pre-made layout only required three steps and can be completed in under one minute.


We recommend Be Theme because of the following:


  • Be has a visual editor of its own (Muffin Builder) that can help you easily edit and build new pages;

  • Be comes with the popular Visual Composer too;

  • You can select from 6 different responsive grid layouts – boxed or full width- and 6 header layouts.

  • Be is highly recommended for web designers who have little or limited coding knowledge;

  • Be’s beautiful pre-made layouts have already done half of the job for you;

  • Be also means 6 different grid layouts to save time & money while creating a responsive website.

To sum up, Be theme incorporates the latest design trends, including a balanced mix of functionality and eye-candy UX. It’s easy to use and its pre-made layouts are a gold mine.


Here are some pre-made layouts that you will get with the Be Theme:

5
6
7
8
9

As you can see in the examples above, Be provides special layouts for blogs, portfolios and e-commerce websites.


Great front-end editing tools and more than 200 shortcodes


Besides Muffing Builder and Visual Composer, Be Theme comes with other wonderful tools such as Layer Slider. Start turning image galleries, sliders and slideshows into real works of art using Layer Slider. It is a really effective tool with customizable features, which allows you to create outstanding parallax effects. Therefore, impress your clients and make them eager to return to your website later using the latest cutting edge technologies.


For those who have coding knowledge, but limited time, Be Theme offer more than 200 shortcodes from Typography, buttons to cool links and image frames and pop-up. You can find the full list here.


Choose Be Theme


10

Be makes everything faster and smoother. You have to start somewhere. Discover the benefits of the one-man-show experience and plan your actions in a wise and disciplined manner to get beautiful outcomes. Start using Be Theme today to fulfill your creative expectations and build websites faster and easier. Create a long-lasting relationship with your audience and enjoy working with the latest technologies of web design. Be creative: play and achieve.


11


Be: Learn How to Spend Less Time on Each Web Design Project with Pre-Made Layouts

Saturday, March 14, 2015

Critical Mistakes To Avoid When Quoting A Web Design Project


Striking out on your own as a freelance designer can be incredibly exciting and rewarding, but to be successful, designers who go this route must hone much more than their design skills. A successful freelance designer must have exceptional organizational and presentation skills. He/She must also understand business development and know how to properly quote projects, something that many new freelance designers struggle with.


7 critical mistakes that designers make when quoting web projects


In this article, we will look at seven critical mistakes that designers make when quoting web projects and show you how you can avoid them in your own business.


1. Not Fully Understanding the Scope of the Project


No two projects or clients are alike. While the work you have done for other projects may help you on a new one you are bidding on, that new project will also have plenty of unique needs based on that business’s goals and the needs of their audience. Understanding those goals and needs, and having a plan for how you will meet them, is how you establish a scope of work for this project.


Not fully understanding the scope of the project


Many web projects include a brief of some kind. Be sure to ask for one if missing and to read it – carefully. There is critical information in that document that will help you establish a scope for the project. That scope equates to a number of hours and those hours equate to a price for the project (more on hours shortly). If you do not understand the scope of a project, you are unlikely to properly assess the time or budget needed to execute the project successfully.


When establishing a project’s scope, take your time and do it correctly. Fully digest the client’s brief. Dissect it. Turn it on all sides. If you have questions (and you should have questions), talk about them with the client, because ambiguity is not your friend when quoting a project.


2. Underestimating the Number of Hours Needed for the Project (and for Life)


At its most basic level, web design, like other forms of consulting, is about trading hours of your time for money. You only have so many hours available to you, so to be successful, you need to use (and bill) those hours wisely. Unfortunately, this is an area where many freelancers stumble.


Underestimating the number of hours needed for the project


When establishing how many hours you will need for a project, do not forget about the time needed to manage the client, present ideas, follow up on emails, and execute the many aspects of the job that are outside of the “design phase.” All of those hours will add up, so if you are not billing for them as part of the project, you are costing yourself time and money!


In addition to the time needed for a project, you must also consider the time needed for your personal life. It’s important to balance your working hours and free time spent with family and friends. There will certainly be times when a deadline is looming, and you need to put in some extra hours, but that should be the exception, not the norm. When planning your schedule, be sure to account for time away from projects and work.


3. Not Taking the Coding Part of a Web Project into Account


The creative and design parts of web design are likely what motivated you to begin this type of work, but just because your strengths are in design doesn’t mean that you can turn a blind eye when it comes to the coding aspects of a web project. There are, however, ways you can address the coding needs of a web project without needing to become a coder yourself.


Not taking the coding part of a web project into account


Option #1: Plan to subcontract the coding part of a project to a web developer. This is how many freelancer designers get the code for their projects done, but if you started a freelance practice because you want to work independently, this might not be an appealing option.


Depending on a programmer, this can be very challenging since you now need to manage their schedule and needs, as well as your clients. Additionally, you can expect a big chunk of the project’s budget to get sucked up by manual coding. That means less money for you and your freelance business. So far, this option isn’t sounding that appealing, is it?


Option #2: Work with a professional website building platform that generates W3C-validated code for your designs. Have you ever heard of Webydo? This platform is a powerful web design suite that allows designers to do what they do best (design visually stunning websites) while the software writes the code for you. Modern web features like pixel perfect responsive design or parallax scrolling animation effects allow you to have complete control over all aspects of the project (including the budget) while still delivering a powerful website for your clients.


4. Not Defining the Number of Design Revisions Included in the Project’s Price


We’d all like to deliver websites that are immediately loved and accepted by our clients. Unfortunately, hitting a home run on the first swing rarely happens. Most of the time, clients will have feedback for you and they will ask for some changes. This is perfectly acceptable, and it will actually help you create a better end product, but how many rounds of changes are you willing to make?


Not defining the number of design revisions included in the project


It is impossible to determine how many rounds of revisions a project will need before you begin that work, but you absolutely must establish a number of revisions that are included with that project as part of the initial scope. I find that 3 rounds of revisions are usually sufficient. Make sure to get a full list of requested changes after each “round” is presented so that you can maximize your time and the client will understand that each round counts as part of the agreed upon work.


If a project requires more revisions than you have initially planned for, be prepared to have a conversation about a change order on the project to pay for that additional design time. Remember, you do not work for free. If the client wants you to do additional work, there needs to be additional budget allocated to pay for that work.


5. Failing to Communicate about Additional Costs


We said it earlier in this article and we will say it again – ambiguity is not your friend. One of the main areas this is true is with additional costs that may arise on a project. These could include services that clients have to pay for outside of your labor, like website hosting, or it could be for premium plugins that the site will require or stock photos that need to be purchased. Discuss these items with your client and make sure they understand about these costs and get everyone on the same page right from the start.


Failing to communicate about additional costs


6. Not Establishing Milestones or Initial Payments


Remember at the start of this article we mentioned that one of the skills you will need to have is organizational skills? This is where those skills come in handy.


An organized project is one that has established milestones throughout that project. Those milestones should cover the work that you will deliver at each stage and the financial payments that the client will be responsible for at that time. Those payments should include an up-front deposit to get you started.


Not establishing milestones or initial payments


Clients want to place their trust in a professional and organized designer who clearly knows what they are doing. Milestones help establish you in this way, and a clearly defined payment schedule ensures that you are not stuck having done most of the work for none of the money. Remember, you’re running a business and businesses don’t run on promises!


7. Failing to Sign a Contract


You’re a professional prepared to deliver a valuable service to a client in exchange for a certain amount of money. There are expectations and requirements on both ends, and those should be clearly stated in a contract.


Failing to sign a contract


Many of the potential mistakes covered in this article can be averted right from the start if you make them part of a contract that both you and the client understand and agree to (meaning they sign it – don’t accept a friendly handshake in lieu of a signed contract). Find yourself a good lawyer and make sure you have the right contract needed to cover the work you do.


In the end, you will find that most of the clients you work with are good people who are excited for the great work you will do together. For them, the contract simply clarifies what you both already know, but for those instances where things do go wrong, a properly written contract can be the difference between getting what you are due or watching as your business takes a hit.


Conclusion


If you are hoping to run a successful freelance design business, you must be prepared to quote on projects. By avoiding the pitfalls covered in this article, you can ensure that you keep your business running smooth and profitable for many years to come.


The post Critical Mistakes To Avoid When Quoting A Web Design Project appeared first on Speckyboy Web Design Magazine.


Critical Mistakes To Avoid When Quoting A Web Design Project

Tuesday, February 3, 2015

5 Unusual Ways to Inspire Your Next Project

We can’t prove this, but we’re pretty sure even Leonardo da Vinci drew a creativity blank every once in a while. How do we know? Because it happens to everyone, even Italian geniuses.


But “it happens to everyone” isn’t a viable excuse for missing a deadline. So, the next time you get a little stuck, try one of these five tactics for generating design inspiration on the fly.


Leverage Brand Heritage


Working with an older company or product? You’re in luck, because history is on your side. In a constant effort to deliver fresh, modern designs we sometimes forget to tap into the rich history or cool story behind a company or product.


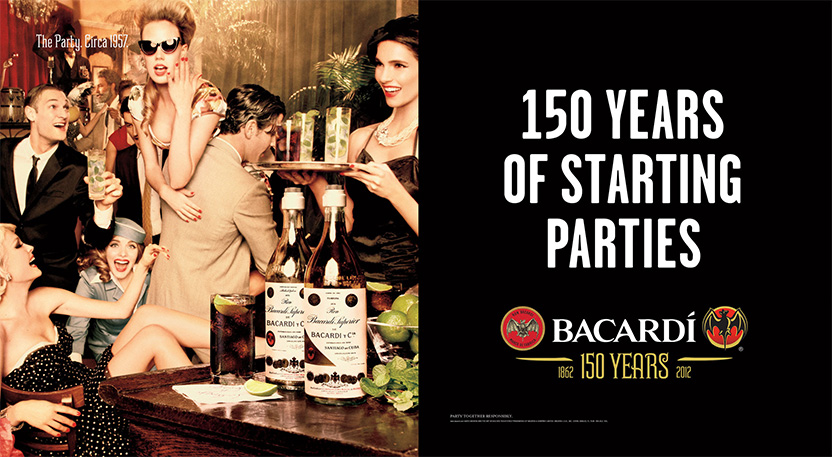
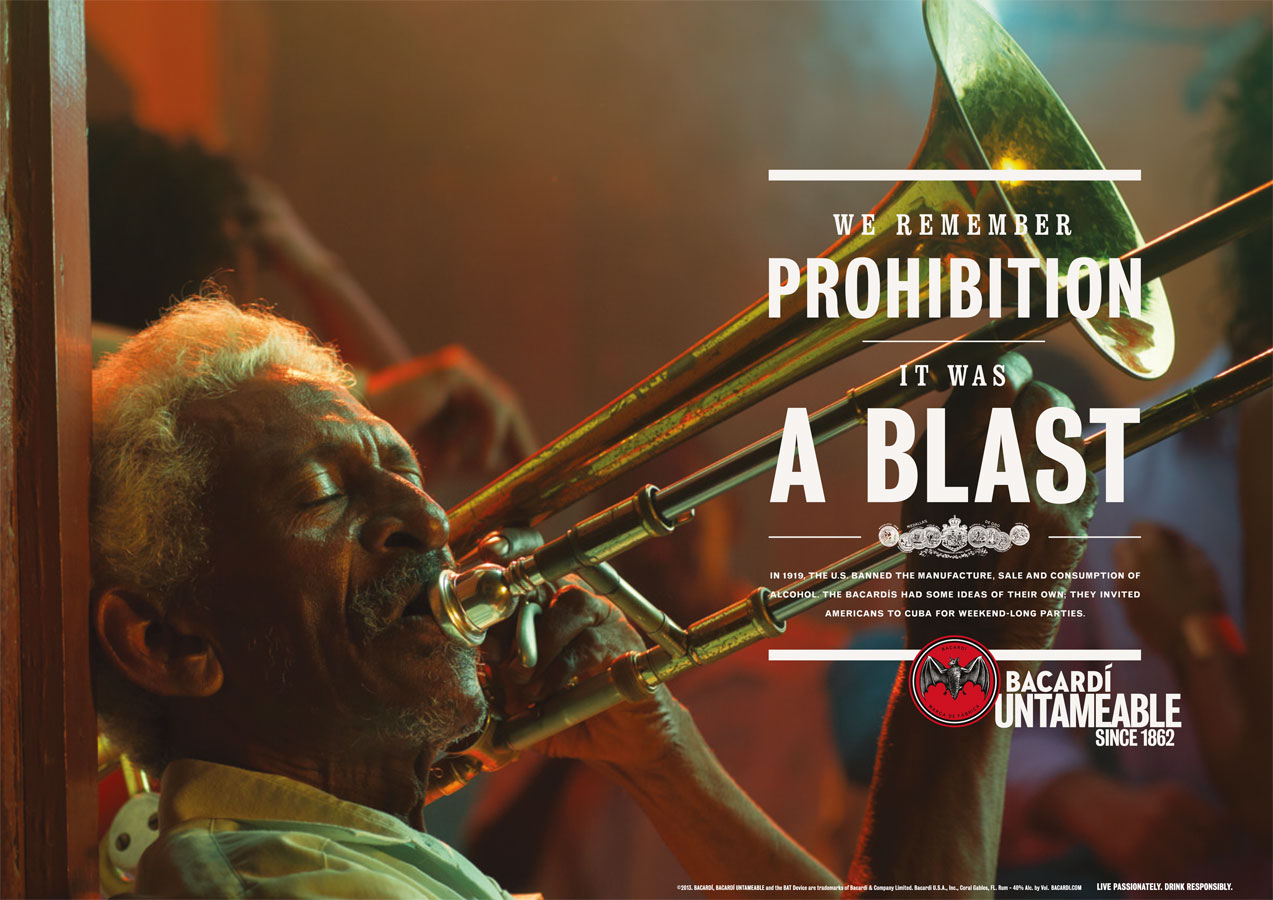
Tapping into a brand’s history can help you unearth the dynamic stories that will supercharge your imagination. For example, Bacardi shows off their 150-year lifespan by rekindling images of Prohibition era drinking and revelry.


creativemarket3


creativemarket3


Cross Cultural Borders


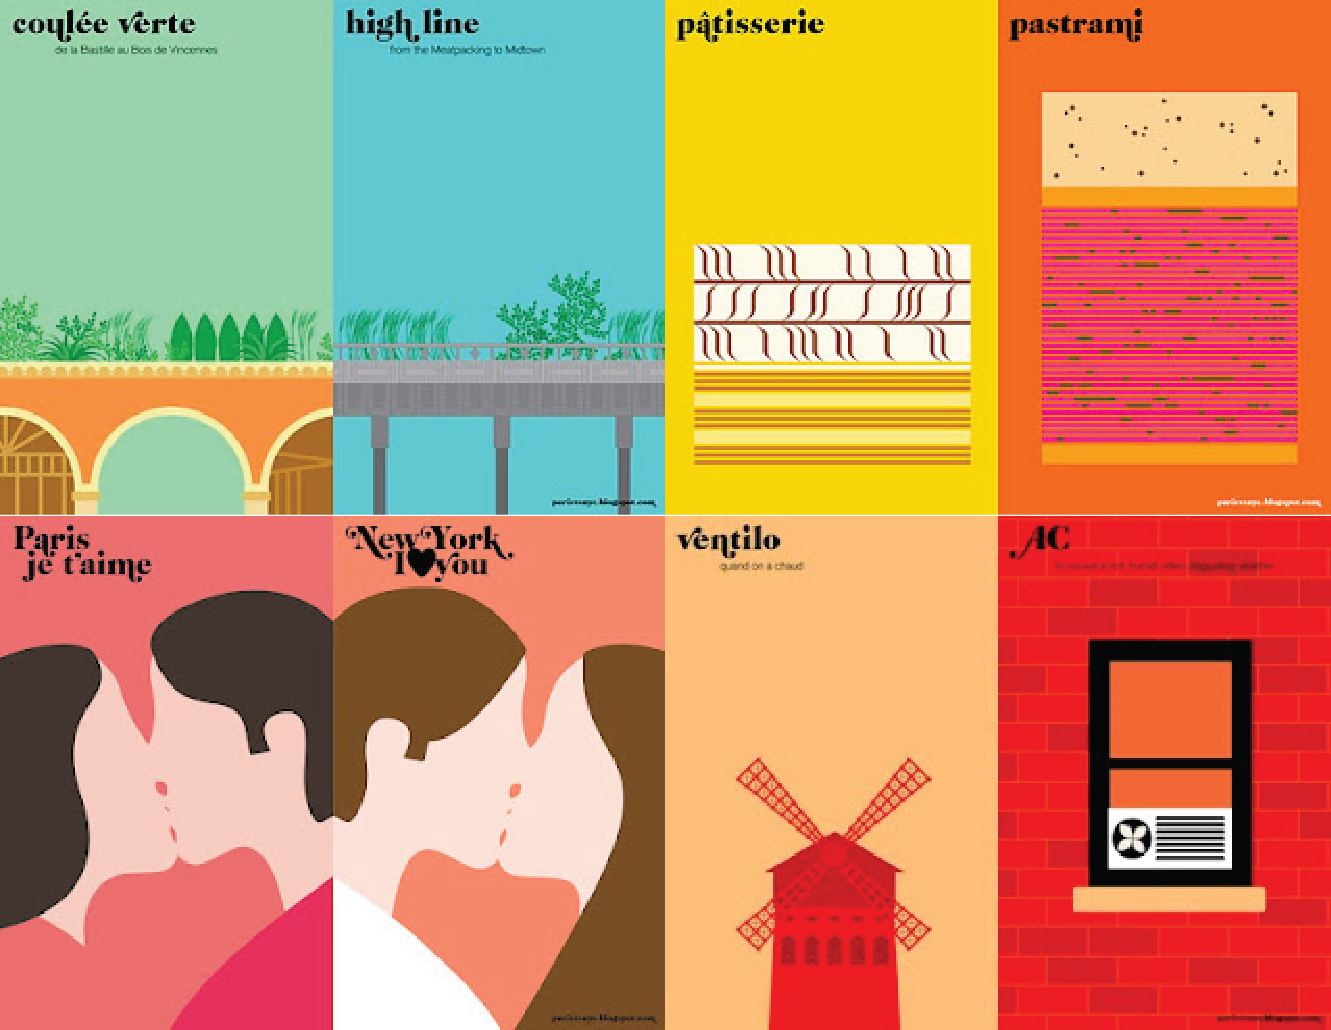
Foreign cultures have different food and social norms, but they also have different design sensibilities. From Japanese travel posters to Scandinavian clothing advertisements, turning to different countries and languages can inspire an exotic spectrum of patterns, colors, and subject matter you might not think to use otherwise.


creativemarket3


creativemarket3


creativemarket3


Target Your Target Audience


Looking at different industries that have the same target audience can generate some great ideas. Take Cheerios and Honda for example. Two vastly different products, but both brands target conscientious moms with school-aged children. What can you learn from the fonts, images or color-palettes used to speak to the exact same customer about a very different product?


Shift Your Perspective


When you’ve become narrowly focused on a single project, try infusing it with a fresh perspective. Shift your field of view up or down—or pan left and right. You can also shift your perspective by reframing the problem you’re tackling or asking someone else to frame it up.


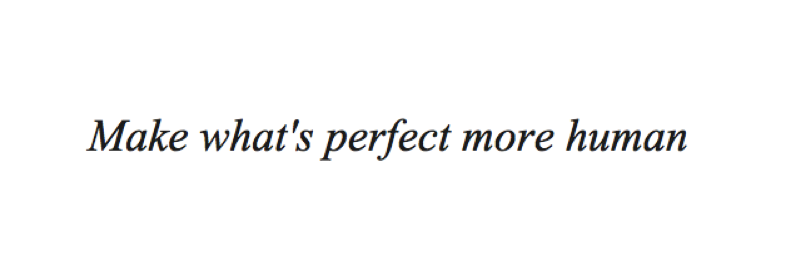
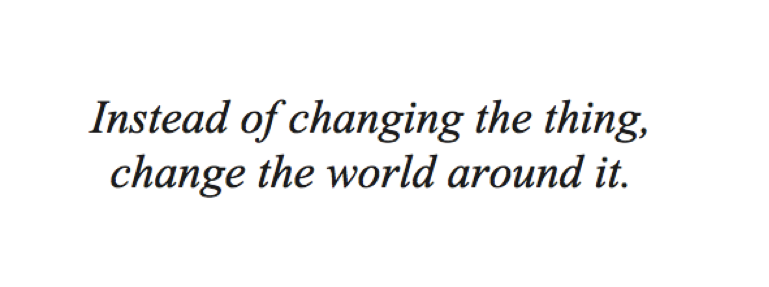
Another fun way to challenge your perspective is by visiting the site Oblicard. The website features thought-provoking phrases that encourage artists to think laterally in order to overcome creative blocks.


creativemarket3


creativemarket3


Let the Font Come First


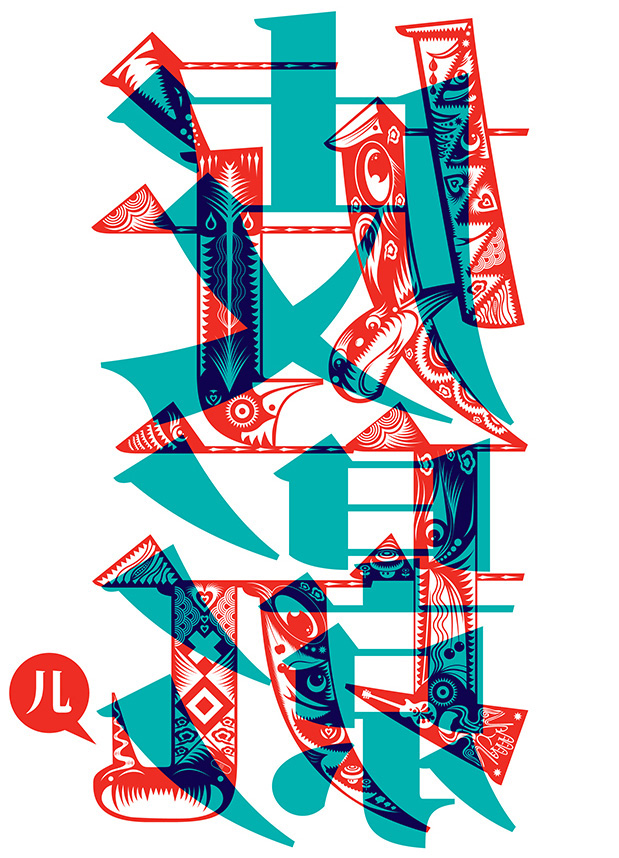
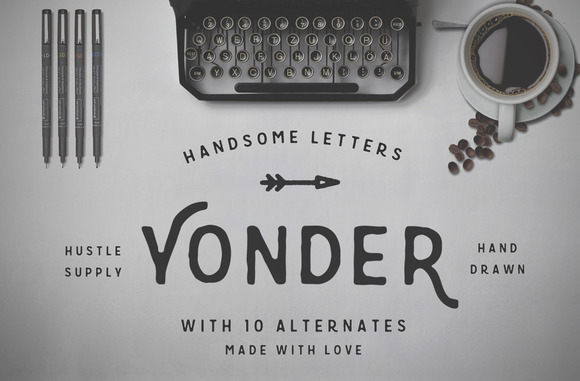
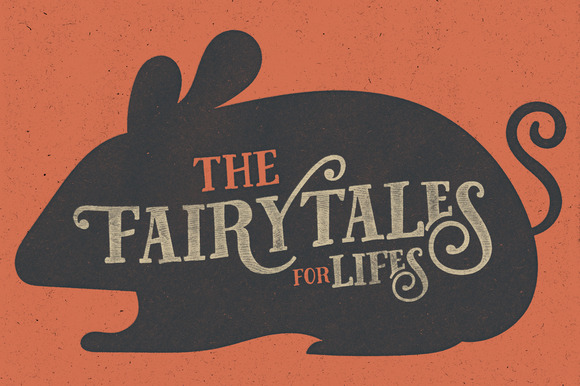
You may not be able to use this approach for every project, but what if you let the type do the talking? This approach is perfect for everything from album covers to movie posters to wedding invitations and packaging design. First, find or fabricate a font that inspires you and let the rest of the design follow.


Ready, Set, Create!


You can’t really force creativity to happen, but you can put yourself in a situation that’s more likely to spark new and innovative ideas. So, the next time you get a little stuck, try one of these tactics!


Dina Chaiffetz is Head of Product at Brandfolder, a visual platform for organizing and sharing brand assets. Read more design and marketing wisdom on their blog.


5 Unusual Ways to Inspire Your Next Project

Friday, December 12, 2014

Starting a New Project? Do These 5 Things Before You Open Photoshop

For some designers, the first impulse is to open Photoshop and start going right away, but most projects require some substantial work before digging into the actual design. Here are some of the things you should get done before you start to put together images, layers, vectors, and everything else in your design.


1. Get Core Project Information


Before any design work begins, the client and designer have to agree on the fundamental basis for the work itself. This can include project briefs or folders that go over the top-level objectives, the scope of the project, and what the project should accomplish.


For example, designing a glitzy marketing campaign on a few keywords can be really insufficient if there are specific messages, target audiences, or angles that the client wants to address. This resource from iDesignStudios goes into more detail about planning before designing.


2. Nail Down Contract Issues


Professional freelancers and designers who work directly with clients know firsthand the importance of tackling contract questions before any design work is done.


You may know what you’re supposed to do, but what about the size of the project? Do you know how many pages are to be done, what format the results are to be in, and how long all this will take? Is compensation clearly detailed in the contract?


These are some of the issues that have to be negotiated between the involved parties prior to doing any design work.


3. Figure Out Methodology


When you have determined the goals of the project and its scope, you can start to lay out your preferred toolbox. Think about the software you use to create a design project; for example, is Photoshop the best tool for the job or is it time to try Sketch? The tools that you choose determine your workflow and how you actually do the many tasks that make up your complete project.


4. Go to the Drawing Board


With goals, tools, and a solid understanding in hand, designers can start to experiment with drawings, mock-ups, sketches, or other rough ideas that give the project a skeleton and an overall structure.


Professionals do this in different ways. Some use project-specific software. Others like to use paper. Then there’s this approach, where mobile app designers create paper runners that thread through a cardboard iPhone prototype in order to simulate the scrolling that users will do on the page.


In the end, it’s best to go with whatever feels most comfortable and makes the most sense to you. Anything less tends to obstruct the process and limit the ways that the project develops.


5. Make a Preferred Short List


After doing typography, layout, image editing and so on, you’ll have a collection of possibilities that compete for a place in the completed project file. It’s often useful to build a short list or mark the options that seem best out of whatever’s been generated. In some cases, you’ll end up with a set of very similar plans. In others, you’ll have several options, and the client can choose. Either way, the narrowing down or winnowing of the process is a way to guide the focus of the project as it evolves toward eventual completion.


What Do You Do Before Photoshop?


All of these steps are critically important in the design process. It’s just not as easy as clicking open some software and throwing some images and text around. Anyone who sees design as a simple process hasn’t been in the driver’s seat when putting together quality projects. Leave a comment below and tell us how you kick off a project. What critical steps have you added to your workflow?


Starting a New Project? Do These 5 Things Before You Open Photoshop