When you’re consistently taking your artwork from paper to digital, it’s important to establish a workflow that will end up saving you a lot of time. In this tutorial, I’m going to focus on scanning your completed black and white artwork and vectorizing it.
I’m sure you’ve read tutorials on how to vectorize your work. Heck, I’ve written a few myself. But having a process outlined by shortcut will save you time and make a great reference. (I can’t be the only one who references my own blog posts when working on things.)
Think About Your Drawing Size
This may seem obvious, but it’s something that I’ve learned the hard way. When you’re drawing something that is ultimately going to be scanned, it helps if the piece of paper you’re drawing on will fit in your scanner. I know. What I just said is ridiculous, but it’s true. Don’t end up with something that will require multiple scans and then stitching it together in Photoshop. Major time waster.
Scanning Your Work
Scan your work and use your presets. 300dpi at greyscale is perfect. If you’ve thought ahead and drew your work at 8.5″ x 11″, you’re set to use the Letter preset.
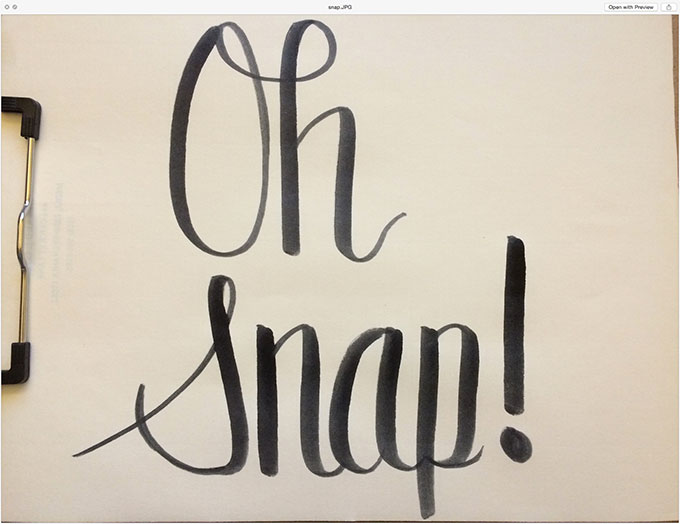
Or, if you’ve got a smart phone, snap a photo of your work in good lighting and email it to yourself like I did here.
Shortcuts in Photoshop
Now you’re ready to work some keyboard magic.
Open your work: CMD+O
Navigate to where you scanned your drawing and open it in Photoshop.
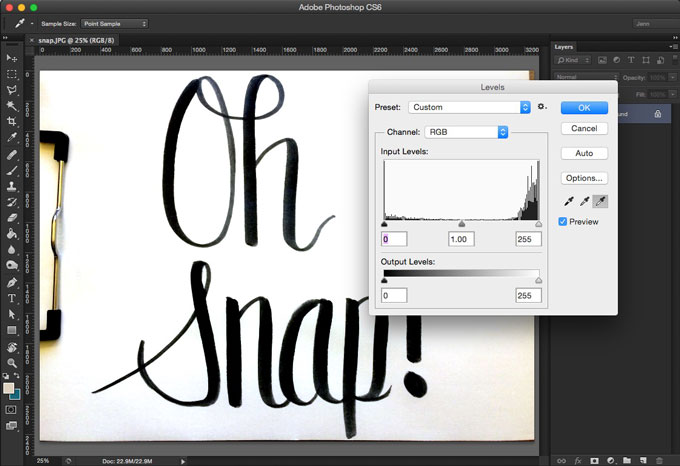
Adjust Your Levels: CMD+L
Use the Levels dialog box to whiten your whites and darken your blacks. You want a super high-contrast drawing. Use the sliders, or use the eyedroppers. Choose the white eyedropper and click on your drawing where you want your whitest-white to be. Then choose the black eyedropper and click where you want your blackest-black to be.
In a Rush? Use CMD+SHIFT+L
Auto levels. Boom. Though it usually pays to take the time and hand-tweak your levels like above.
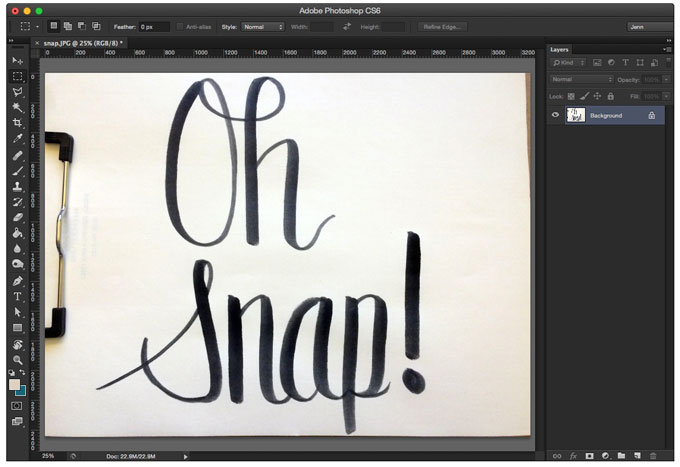
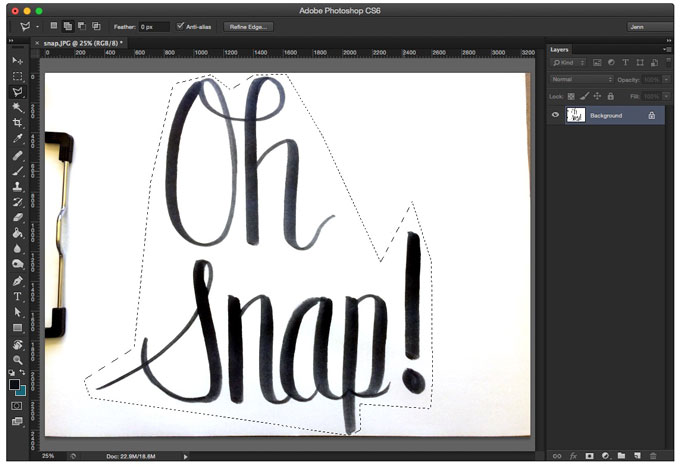
Select Your Work with Lasso: L
Use the Polygonal Lasso tool to draw a loose marquee around your drawing. This will allow you to only choose the parts of the drawing that you want to bring into Illustrator. And if you took a photo instead of scanning, you can use the lasso tool to avoid some vignetting that may have occurred.
Want Square? Go Marquee: M
If you don’t need a fancy polygonal lasso to select your art, use M for Marquee and draw a plain old box.
Copy Your Work: CMD+C
You’re copying your selection to paste it into Illustrator next.
Shortcuts in Illustrator
Open Illustrator and start a new document (CMD+N) and don’t worry too much about the document size here. Just hit Enter.
Paste Your Drawing: CMD+V
Paste your drawing onto your artboard in Illustrator.
Hide Your Artboard: CMD+SHIFT+H
No need to see the pesky artboard. Work with a distraction-free surface by hiding your artboard.
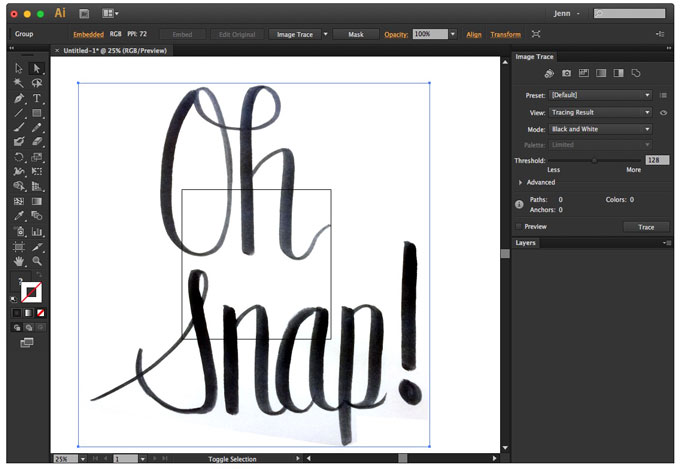
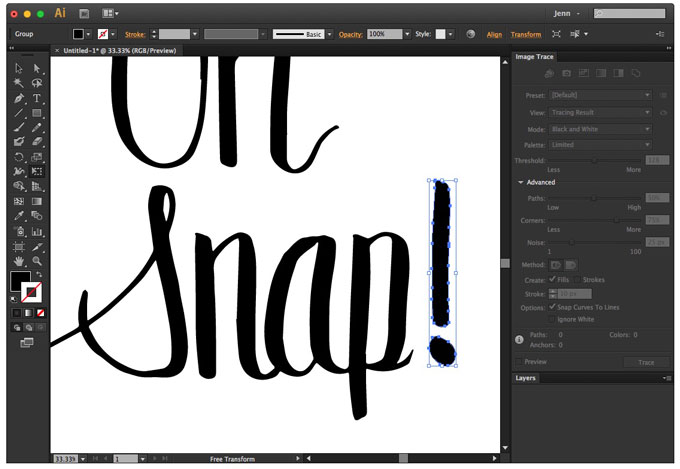
Select Your Art: V
Use the Selection Tool to select your pasted drawing. Then head on over to the Image Trace panel and choose Black and White Logo. Play with the Threshold, Paths, Corners, and Noise sliders as needed, until your art looks awesome.
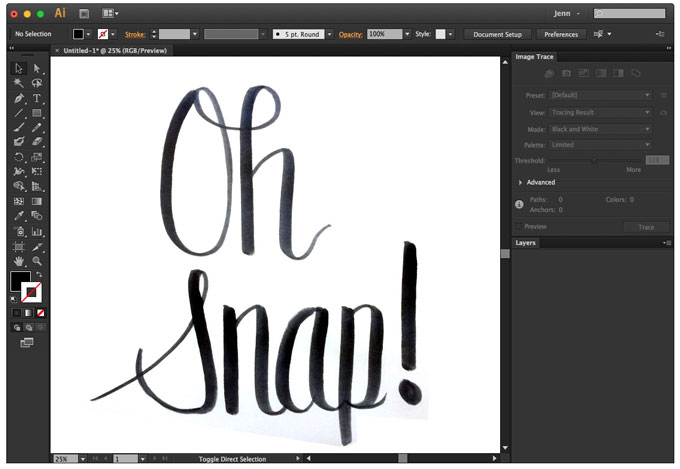
Expand your drawing so you have outlined paths of your art.
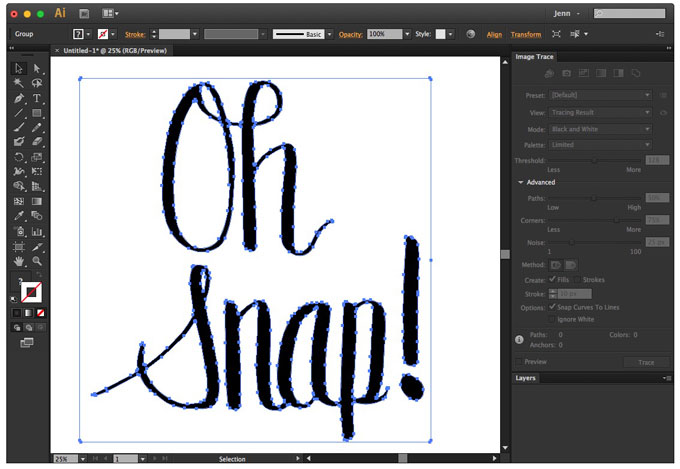
Ungroup Twice: CMD+SHIFT+G
Select your artwork again (V) and ungroup it with CMD+SHIFT+G, twice. Now delete the extra pieces of your drawing that you don’t need, like the background.
Group Similar Objects: CMD+G
Some pieces of your drawing will need to be grouped. Select them with the Selection Tool (V) and hold down SHIFT to select multiples. Group the selected objects by using CMD+G.
Free Transform: E
Are some items sized poorly? Need to rotate something? Hit E for Free Transform. Hold down Shift to adjust with the same proportions. Hit V when you’re done.
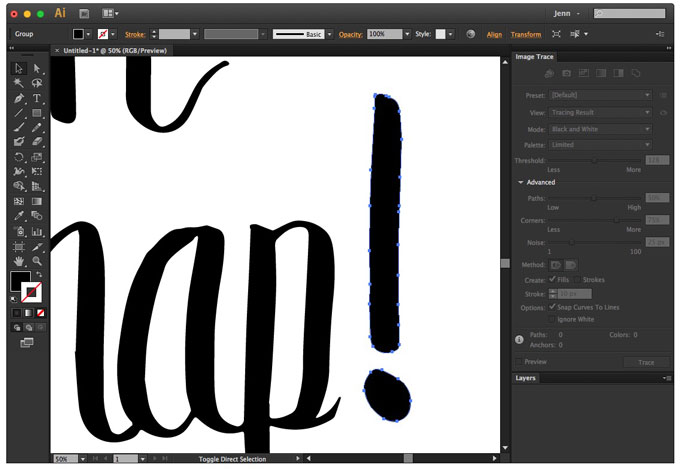
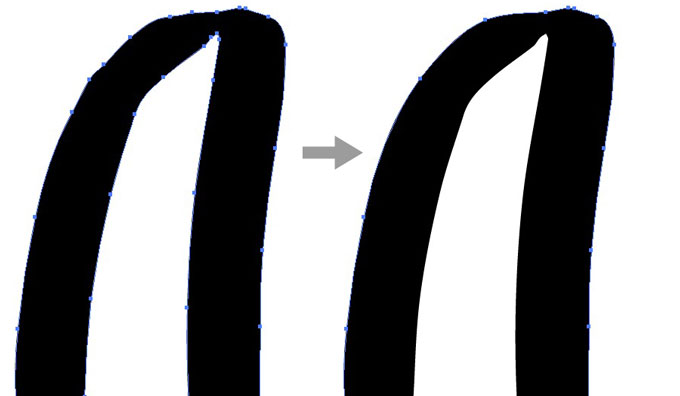
Smooth Things Out: SHIFT+S
The Smooth Tool is underutilized, mostly because there’s no default keyboard shortcut assigned to it by Illustrator. When paired with Image Trace, the Smooth Tool really shines.
Use the smooth tool by selecting your drawing piece (V) and then smoothing it out (SHIFT+S) by clicking and dragging over the bumpy edge using your mouse.
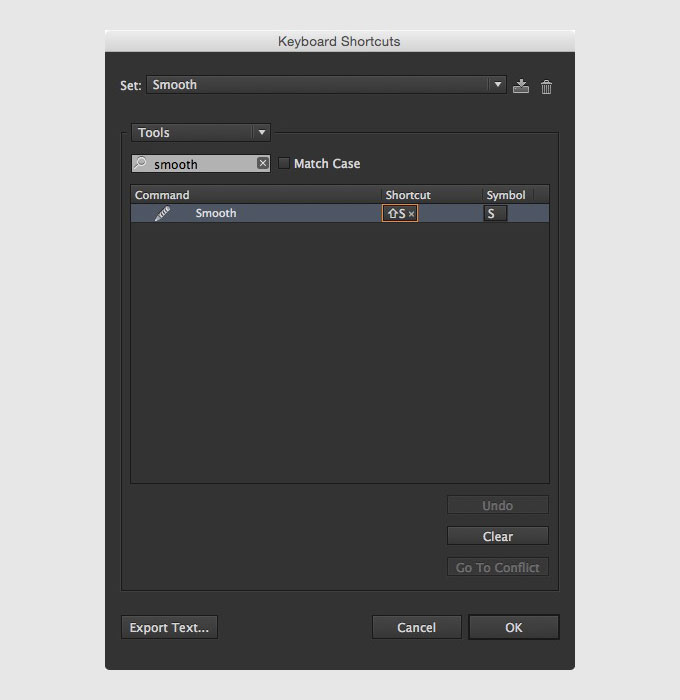
SHIFT+S not working for you? You need to set it up! The Bonus Tip: Create your own Smooth Tool shortcut by going to Edit → Keyboard Shortcuts… (Guess what, the keyboard shortcut for Keyboard Shortcuts is CMD+OPT+SHIFT+K). Find the Smooth Tool by searching for it, then assign it something easy you’ll remember. I chose SHIFT+S because I wasn’t using SHIFT+S for anything else. Overwrite the current shortcut if necessary.
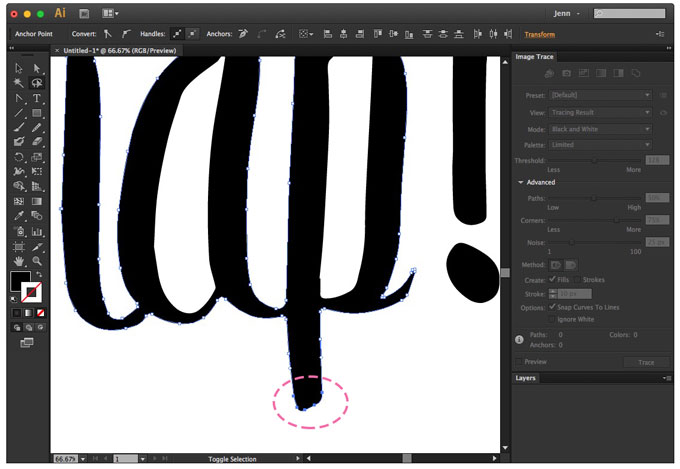
Pesky Anchor Point Stuff Going On? Use the Direct Selection Tool: A
Select specific anchor points with the Direct Selection Tool. Click and move them around as you see fit.
A Group of Pesky Anchor Point Stuff? Use the Lasso Tool: Q
Draw a closed shape around the group of anchor points you wish to massage with the Lasso Tool to select them. Then switch to Direct Selection Tool (A) to move the group around.
Wrangle with the Pen Tool: P
Sometimes there is just one too many anchor points. Add and subtract anchor points with the Pen Tool (P). Finesse your lines by massaging anchor points and bezier handles.
Finally, Save Your Work: CMD+S
Save your work and have fun with your newly vectorized drawing.

Now, take time to reflect on how quickly you can maneuver around Photoshop and Illustrator, now that you have a solid stockpile of awesome keyboard shortcuts to save you time in your paper-to-digital workflow.
Jennifer Coyle is a Philadelphia-based UI Designer and illustrator who loves to create fonts and resources on Creative Market. She also shares tutorials and inspiration for designers and creative entrepreneurs on her blog at Hello Brio Studio. Take her Skillshare class to learn how to make your own hand drawn font.
Products Seen In This Post:


Easy Shortcuts for a Faster Illustration Workflow
No comments:
Post a Comment
Note: Only a member of this blog may post a comment.