Today is a huge day if you’re an Adobe CC subscriber, because everything has been updated to a 2015 version, bringing with them all sorts of new changes and added features. Now we could spend all day talking about Adobe Stock, linked Smart Objects and more, but let’s touch on one of the cooler features for PS CC 2015: Glyphs.
Ever buy a font that has cool glyphs — those extra characters that you can use to create fun flourishes or other details — but can’t find a way to access them? Well you could in Illustrator, but if you wanted to do the same in Photoshop, you were out of luck. Now you can.
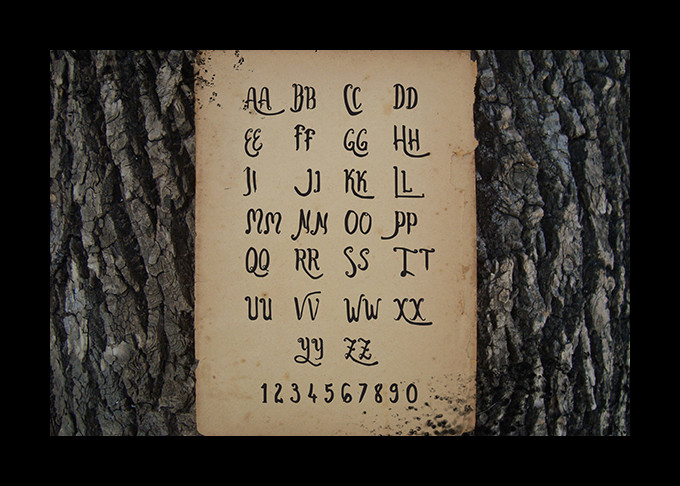
Let’s use an example with a font that I personally own, Ballistic by thirtypath. Ballistic uses glyphs in creative ways, so that you can stack letters and do cool things with tails.
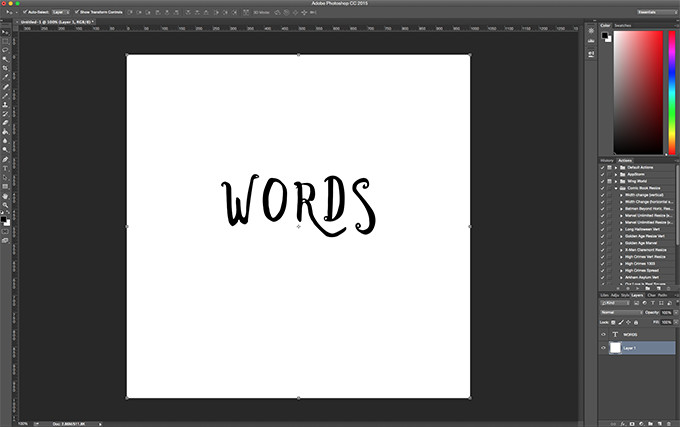
Here’s my fancy example:

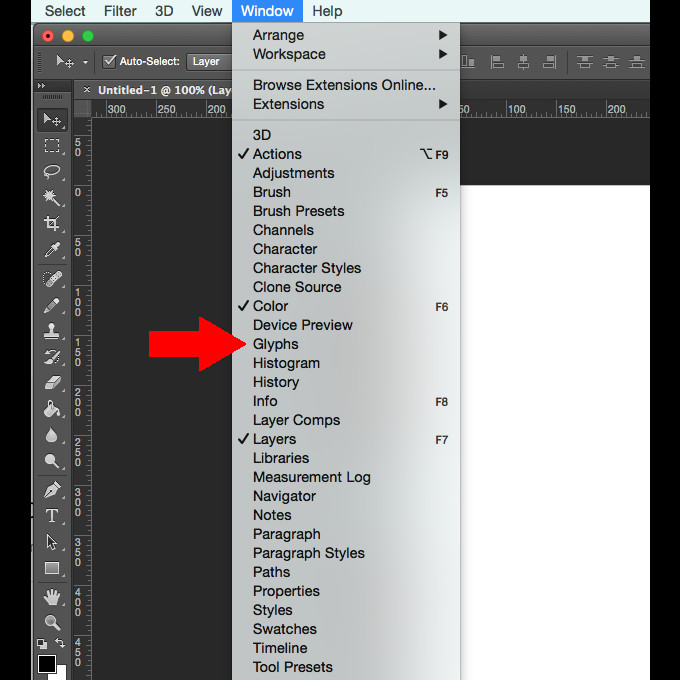
Now I need to open up the glyphs for the font, which is as easy as going to Window > Glyphs, just like you’d expect.

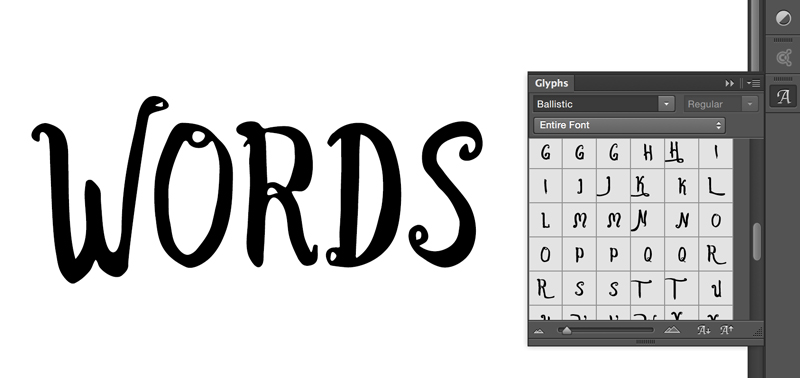
With that done, I now have a Glyphs panel on the screen, showing me all of the cool options that my chosen font has in store for me. To replace a letter, I highlight it, double click the glyph I want to use, and then I’m done.

Or, if I just want to insert the glyph, I just double click on it and it’s magically dumped into my text. Also, if I just want to see the available glyphs for one character, I highlight the letter, select “Alternates for this selection,” and that’s exactly what it will show me. And to punctuate that even more, here’s a video on how the whole thing works:
If you’re an Illustrator user, this is all old hat for you. But for Photoshop people, this is a potential game changer.
Now get out there and make some cool designs using glyphs!
Kevin Whipps is a writer and editor based in Phoenix, Arizona. When he’s not working on one of the many projects in his queue, he’s looking for fun and irreverent things online to share with his friends.
Products Seen In This Post:

Glyphs Come to Photoshop, Type Lovers Rejoice


No comments:
Post a Comment
Note: Only a member of this blog may post a comment.