‘Tis the season to start thinking about holiday greetings, if you haven’t already begun! I’m always inspired by holiday photo greetings, especially the ones that feature elegant, hand-lettered scripts sprawling gracefully across the card, finished with a list of family members in a clean, complimentary typeface.
Hand-lettered typography continues to increase in popularity, giving today’s greeting cards a sophisticated yet homey and comfortable flair. I invite you to join me in making a holiday greeting card using your own hand lettering. These techniques can help you make this year’s photo greeting simple and beautiful, but the techniques I’ll be demonstrating today can be applied to any design, even if you’re reading this in July. I’ll be creating an effect like this:

You will need:
- Photoshop (Any version that supports smart objects. I’m in CS6.)
- A scanner (here’s a good one) or decent camera
- A lovely family photo to turn into a greeting
- Some hand-lettered artwork ready to scan
Step 1: Create Hand Lettering
If you don’t have some artwork ready, now is the time to start lettering. If you’re interesting in learning hand lettering, check out this post for more information. Here are a few more tips to get you started. I’ve already finished a few different hand-lettered greetings, just done with a soft 2B pencil because I’m going for a rough chalk-like effect.
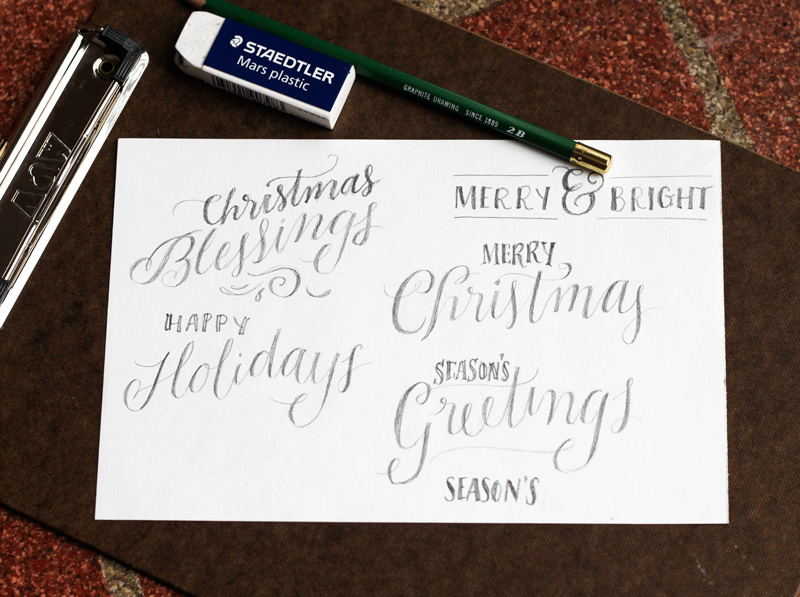
You can use any media you want (ink, calligraphy ink, charcoal, chalk, crayons, etc.) Paper also makes a difference. The above sketches were done on some lightly textured drawing paper.
Sketch, ink in if desired, clean up, and erase unwanted marks, and you’ll be ready to scan your work.
Step 2: Scan Your Work
In order to get the highest possible quality, I’m going to scan in my artwork around 600dpi in PNG format.
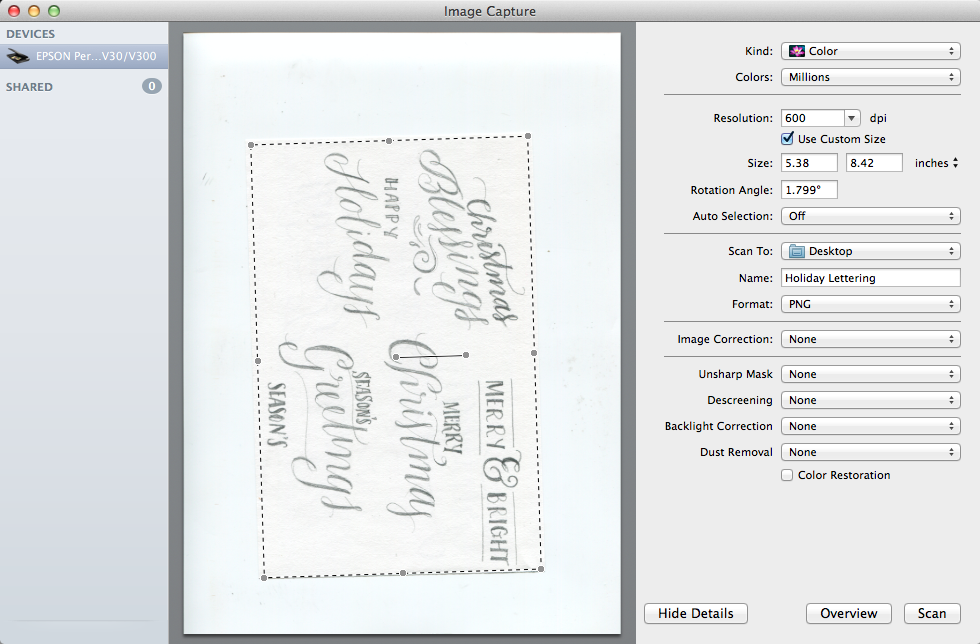
Step 3: Clean Up in Photoshop
The first thing I do when I bring my lettering in Photoshop is create several adjustment layers to make the background disappear. As I mentioned, my paper is lightly textured, and I want to eliminate all the texture and have a completely empty white background. With a pencil/chalk sketch this is a bit more difficult, but I will start by creating a Levels adjustment layer.
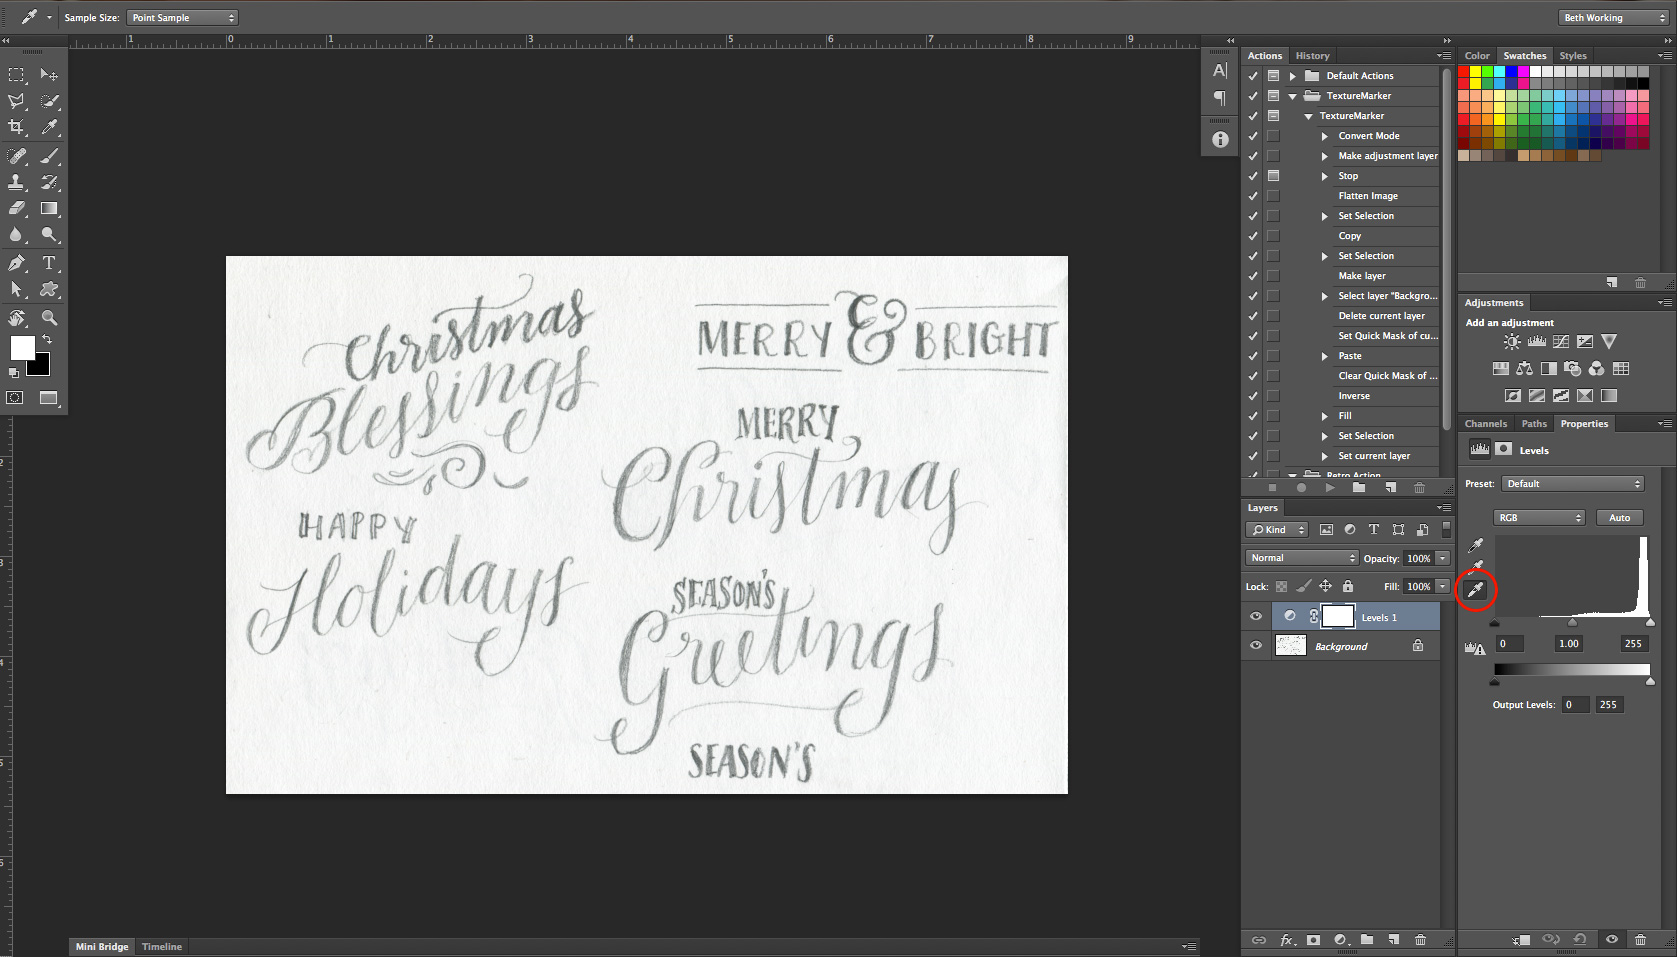
In the properties of the Levels adjustment layer, select the white point option (circled) and using the color picker, select the darkest area of gray that should represent white.
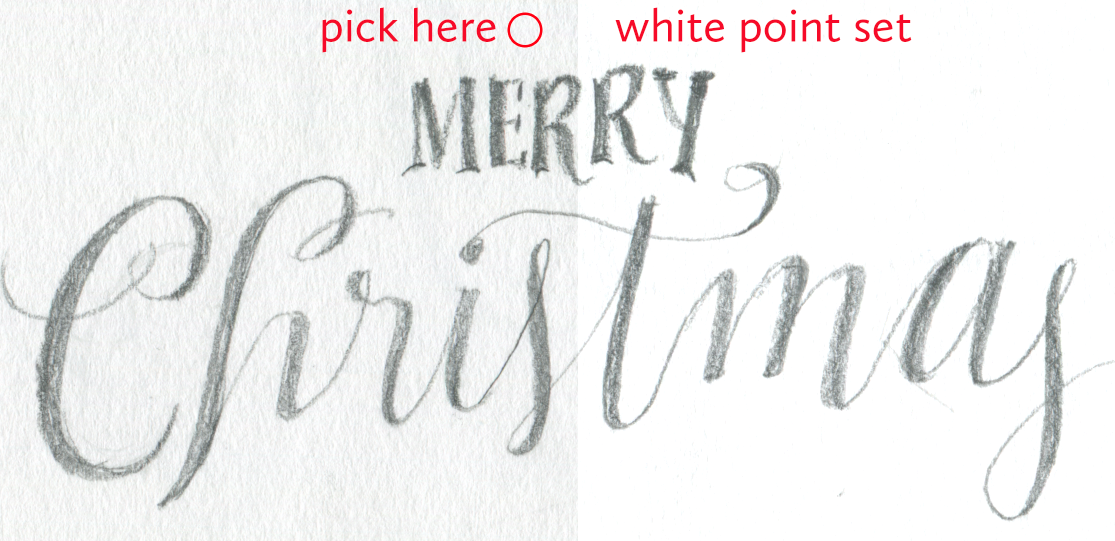
After I’ve defined my white point, I’ll create a Brightness/Contrast adjustment layer. In the properties, I’ll adjust the settings until I’m satisfied with the degree of contrast and brightness.
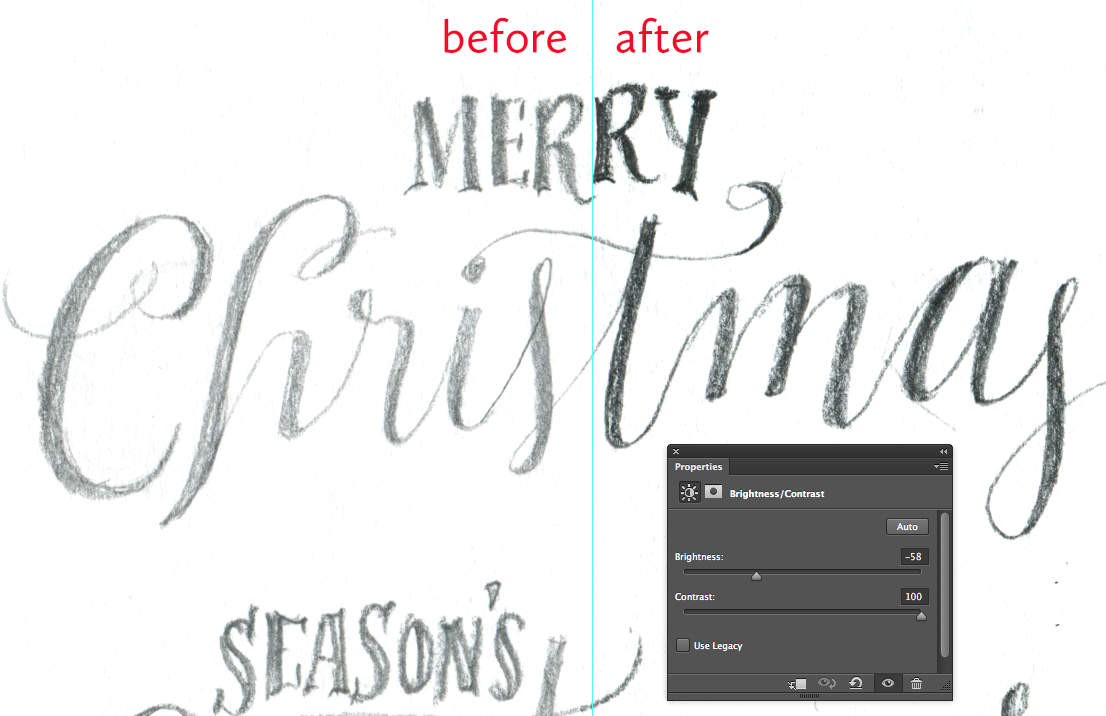
Finally, I’ll double click on the actual lettering layer (the background layer) to convert it to an editable layer, then give it a layer mask. Selecting the mask and using the eraser tool, I’ll erase dust, noise, scratches, and try to isolate the lettering from the background. This took me about five minutes.
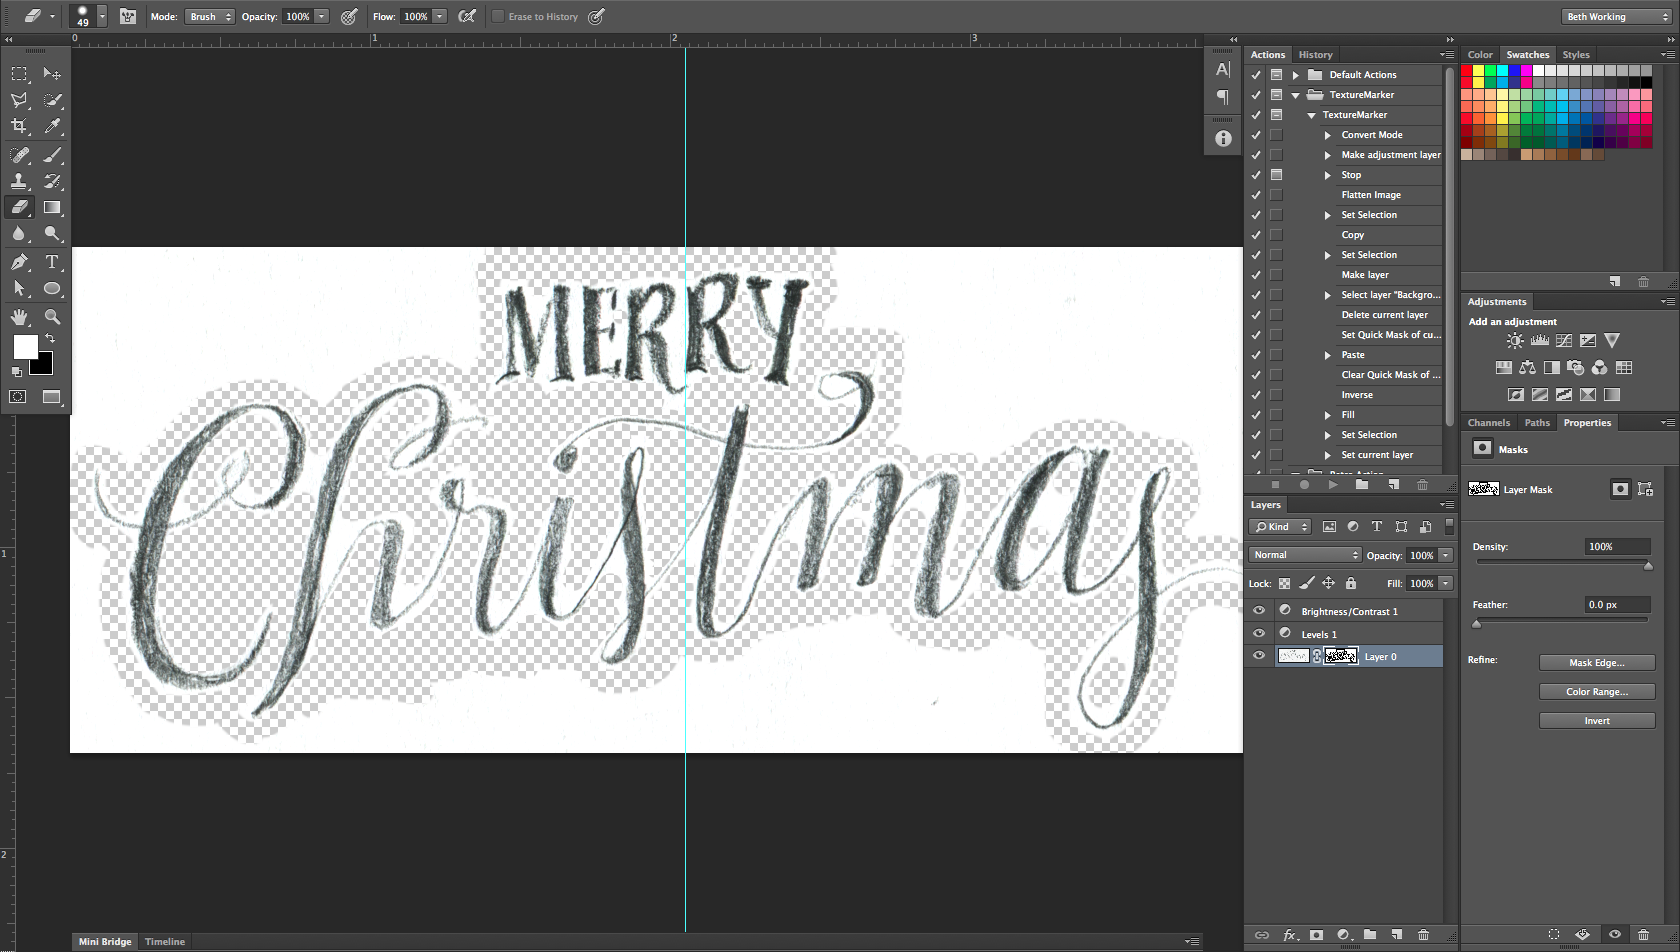
(If you’re using high-contrast inked lettering, there may not be a need to manually erase the background. Skip to the next step!)
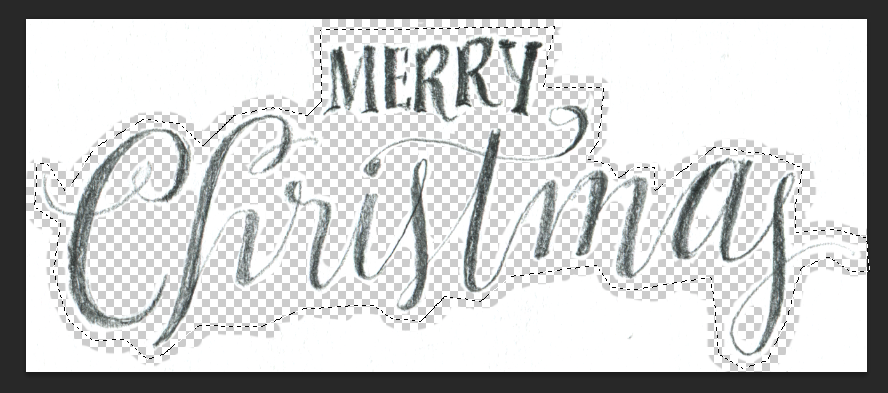
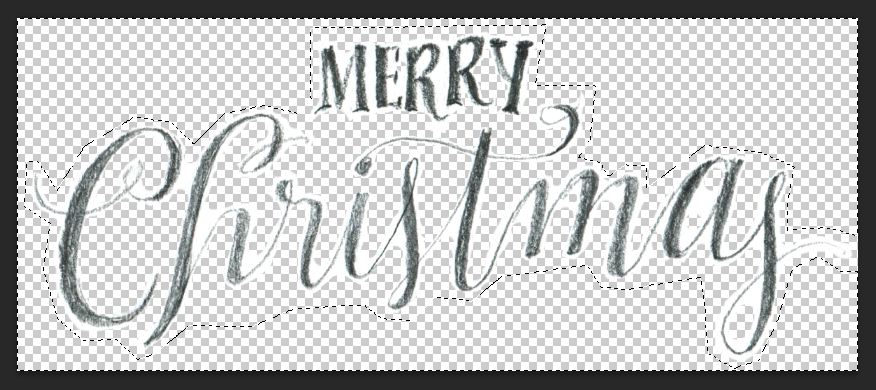
When I’ve got my lettering roughly isolated in the mask, I’ll make a selection around the lettering, inverse the selection, and delete. Now the background is gone.
Step 4: Isolate Lettering and Create Transparency
This step describes how to make the lettering placeable over any background. Save your lettering as a .PSD (Photoshop) file. Duplicate the file (Image > Duplicate) and change the mode to grayscale (Image > Mode > Grayscale. Merge layers and discard color information). You will now have a single layer.

In the Channels panel (Window > Channels) you’ll see only the Gray channel. Holding down the CMD (Mac) or CTRL (PC) key, click the Gray channel. This will convert the channel to a selection.
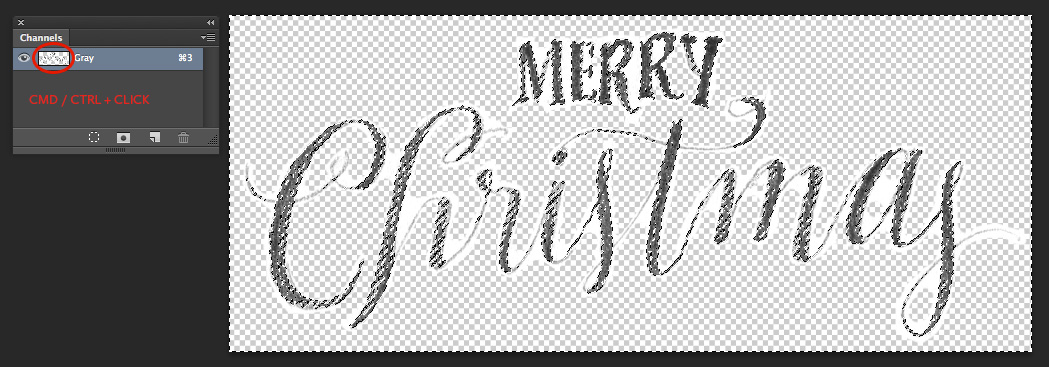
Invert the selection with CMD/CTRL + SHIFT + I. Last, create a Solid Color adjustment layer. The mask on this layer will automatically assume the selection, and you’ll be able to adjust the color of your lettering at any time, as well as place it over any background.
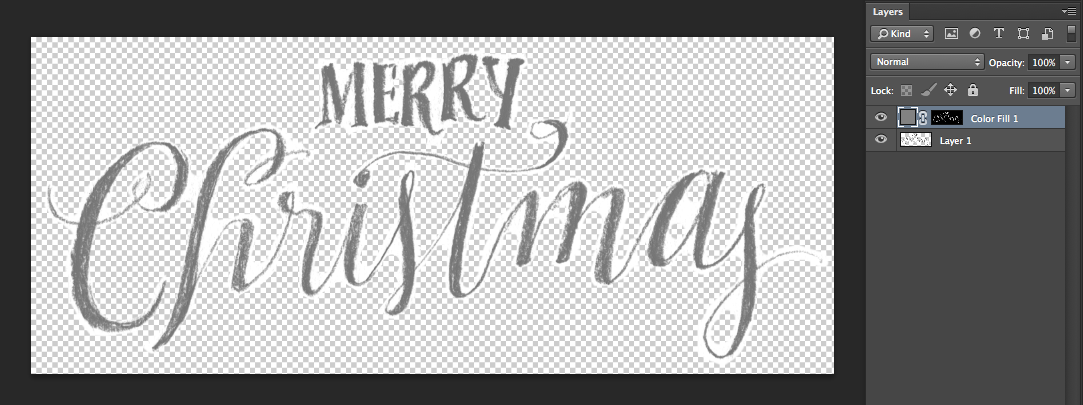
Hide the background layer. Change the mode back to RGB (Image > Mode > RGB – do not merge or flatten layers) and save this as a new .PSD file.
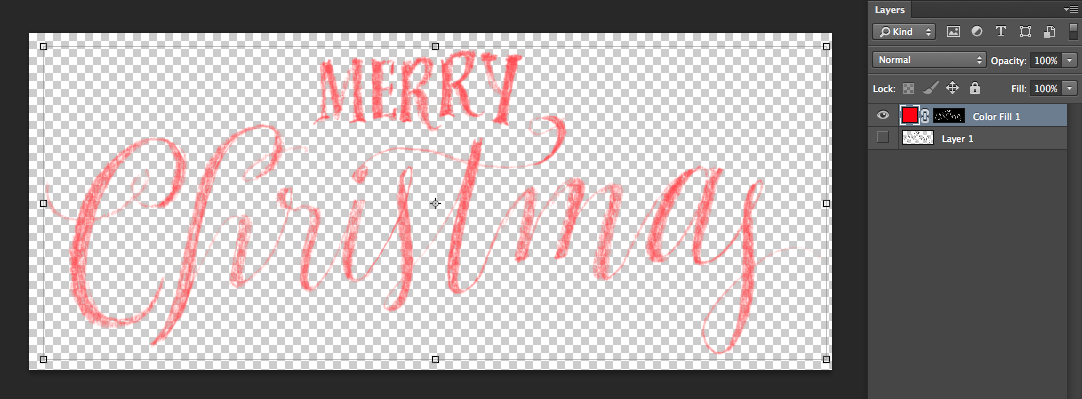
Step 5: Create your Greeting
Create a new document in Photoshop, taking the size and desired outcome of the card into consideration. If you’re making a printed card, standard sizes include 4×6, 5×7, 8×10, 8×4, etc. I’m going to make mine a 5×7 inch greeting card. Place the photo into the new document. Add filters as desired, considering the placement of the lettering. I’ve added a subtle vignette and a simple gradient, as well as some nifty filters from FilterGrade. When you’re confident the photo can’t look any better, it’s time to place the lettering.
Place the lettering over the photo (File > Place, and locate your isolated/transparent lettering.) Position it over the photo anywhere you want.

Since the lettering is a smart object, it can be edited separately with a double-click in the layers panel. If I want to change the color of my lettering, I’ll double-click on the lettering smart object in the layers panel.
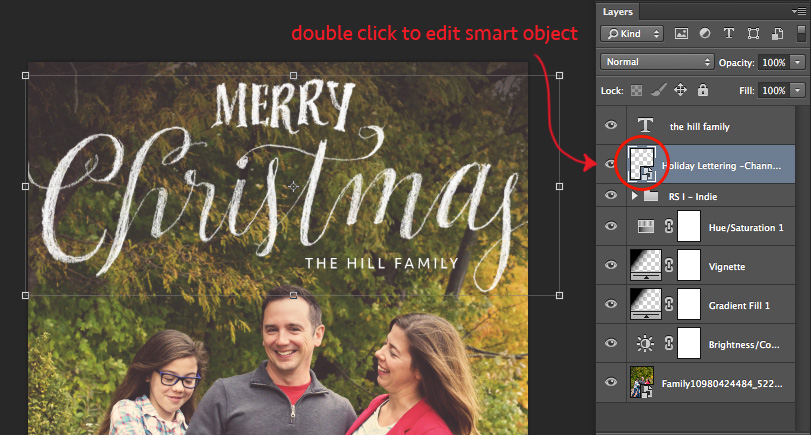
The smart object opens in a separate Photoshop window. I see my color adjustment layer once again. To edit the color, I’ll just double-click on the color icon and pick a new color.
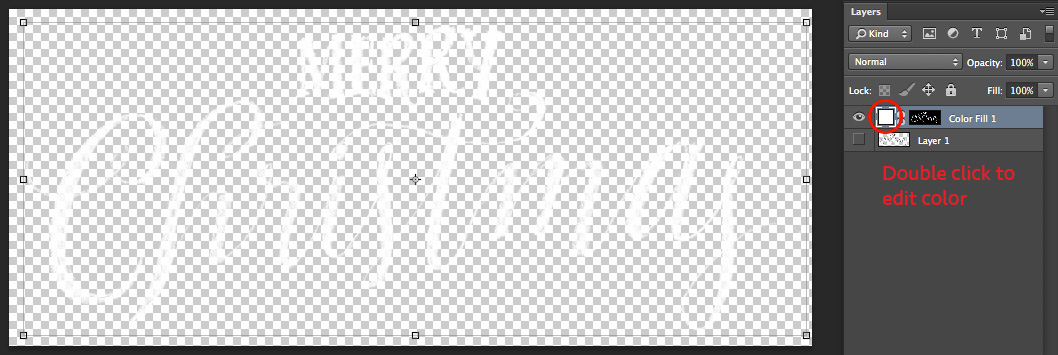
When I’m done editing the smart object, I’ll just save (File > Save) and close it. The smart object updates itself.
All my greeting card needs now is a signature! I’m going to use a clean sans serif, which complements the hand-lettered script well, and create some text with the text tool.

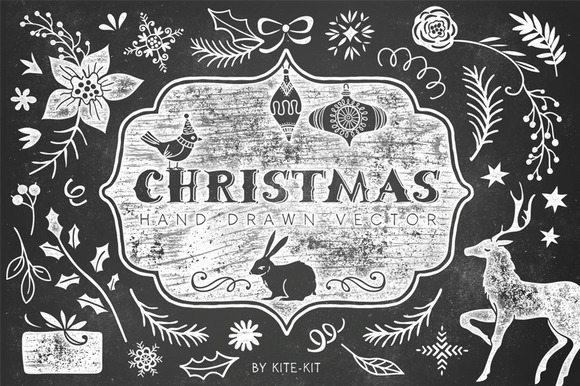
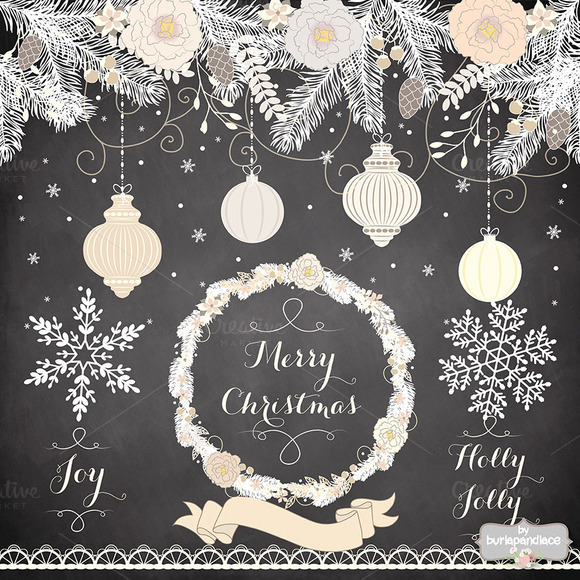
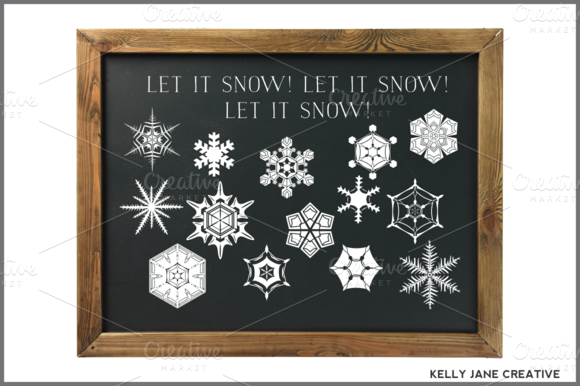
You might be inspired to add a few finishing touches to your card with some fabulous holiday graphics from Creative Market:
I hope you create something beautiful this holiday season! Thanks for following along! Happy Holidays!
Beth Rufener, the shop owner of Ornaments of Grace, is a wife, mom of two, graphic designer, amateur photographer, aspiring hand-letterer, occasional musician, and avid collector of fonts. She and her family live outside of Rittman, Ohio.
Image Credits: Family Photo used with permission from AngieSix and Red Thread Photography. Graphics/effects featured are from the shops of FilterGrade, Kite-Kit, Burlap and Lace, Kelly Jane Creative and pdeasyprint.
Create a Hand-Lettered Holiday Greeting Card
No comments:
Post a Comment
Note: Only a member of this blog may post a comment.