Watercolour painting can be a very tranquil activity. The lack of control over water and pigment flow might seem intimidating at times but I find it liberating, some things just need a few drops of serendipity to make them truly magical.
If you are under the spell of watercolours, but shy away from them because they seem impossibly hard to use, this tutorial is for you.
Before You Start
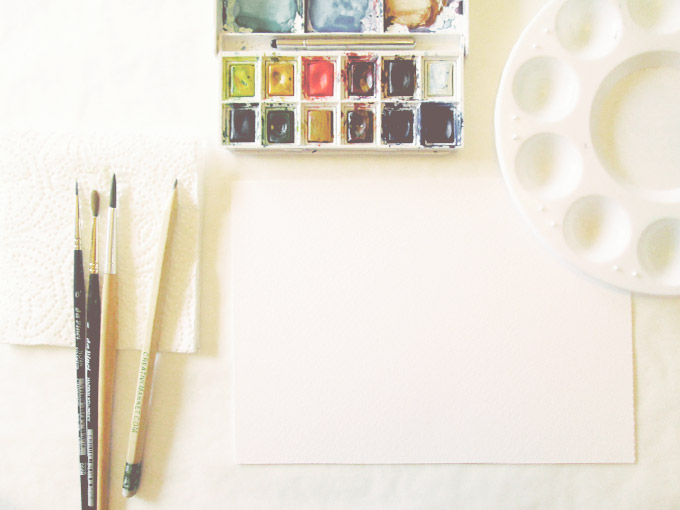
First, you need to gather your tools. The materials listed below should be easy to find, and some of them you probably already have at home:
Watercolours: A colour set of 8 or 12 colours should be enough.
Brushes: Pick a soft watercolour brush (mine is size 5) and a thinner synthetic brush for the splatters.
Watercolour paper: You will need at least two sheets of watercolour paper and perhaps some additional paper to practise on.
Water jar and a palette tray: An old coffee cup and a plain white plate will do the trick.
Kitchen towels and baking paper: Use the baking paper to protect your working surface and the kitchen towels to mop up excess paint and water.
Pencil – Any pencil will do.
Nail scissors – They are perfect for cutting out stencils, especially if you are not comfortable using a craft knife.
Let’s paint!
If you need inspiration for you eggs, go online and find out which birds live in your area – I chose to paint a Song Thrush egg. And without further ado, allow me to guide you through a fairly easy way to paint watercolour eggs.
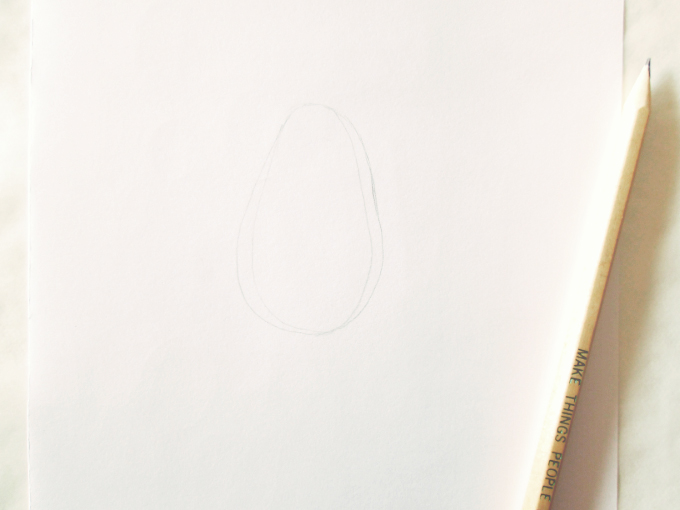
Step 1 – Prepare a Stencil
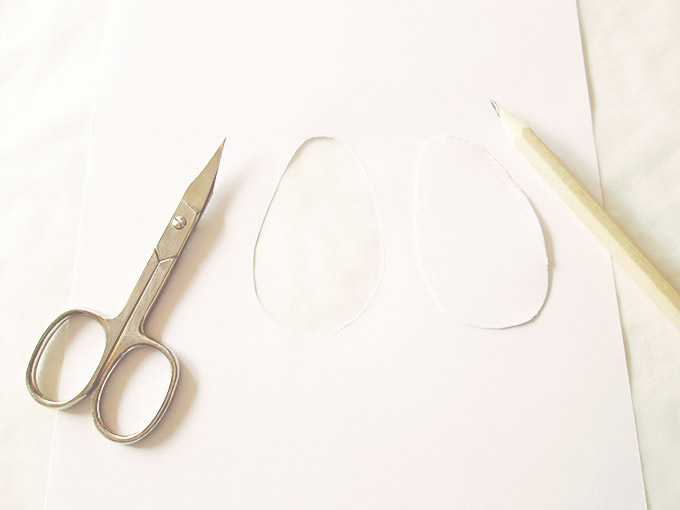
Take the pencil and the first sheet of watercolour paper and draw an egg. Take your time and try as many times as you like. When you are happy with the shape, carefully pinch a hole in it and cut it out.
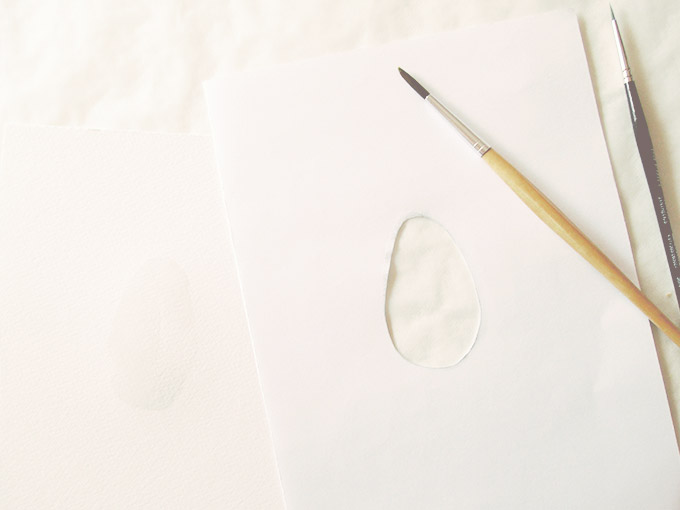
Step 2 – Wet the Paper
Fold the other sheet of watercolour paper in half to make your card. Place your stencil on top and adjust the position of the egg. You can use masking tape to fix the two stacked watercolour sheets to a cardboard and ensure your whole artwork stays in place. I haven’t done that because I aimed for a slightly messier look.
When the stencil is in place use clean water to gently wet the shape.
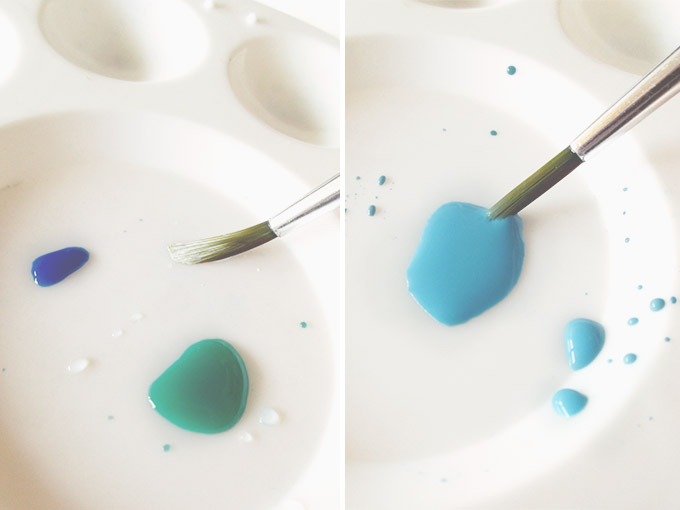
Step 3 – Add Colour
Prepare your colours by thinning watercolours with water on your palette tray. To create turquoise you will need to mix Ultramarine, Phthalo Blue, Viridian Hue and Chinese White, or in other words – blue, green and white. Play with the proportions until you find a shade of turquoise you are happy with.
Apply the colour to the wet egg with soft motions without removing the stencil.
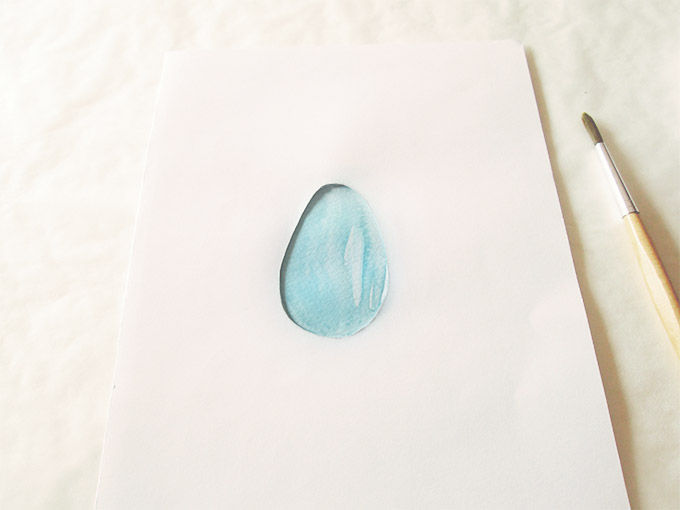
You can stop here, if you wish, and simply reuse the stencil to paint as many eggs as you like – they will not look identical (remember the drops of serendipity I told you about earlier?) If you want to add splatter just keep reading.
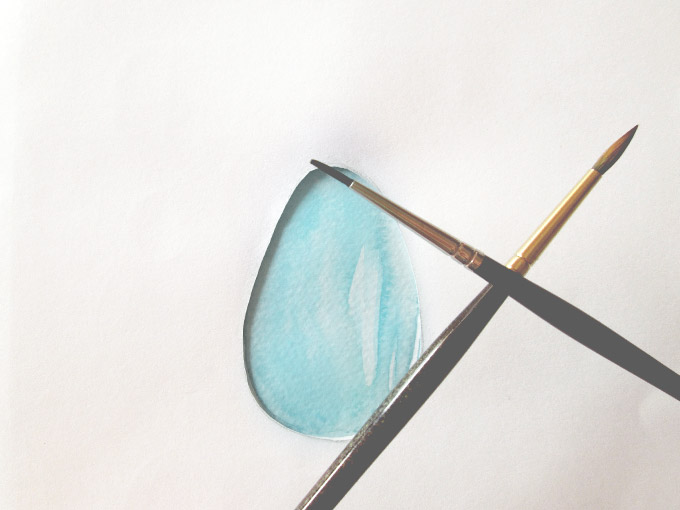
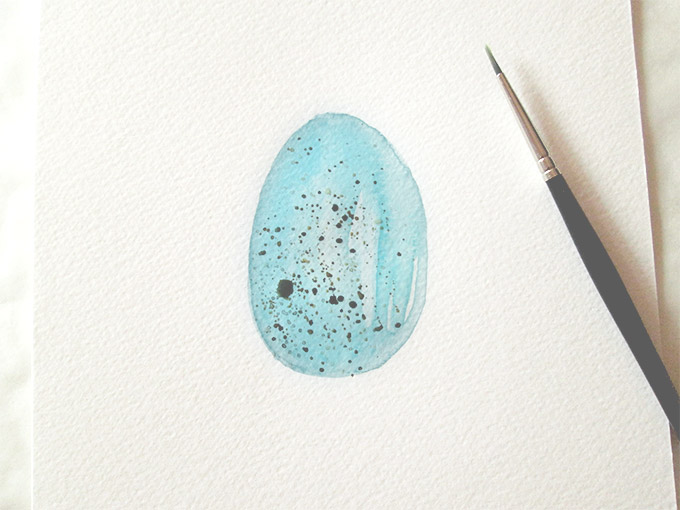
Step 4 – Adding Spots
If you want your eggs to have spots, you can either start while the egg is still wet or wait for it to dry completely. In the first case, the colours will mix and you will have more fuzzy shapes. I wanted my spots to be crisp, so I waited for the egg to dry. You can check this by touching the shape lightly with the back of you finger – it shouldn’t feel colder than the rest of the paper. Also, you can help it dry by using a hair dryer.
Take the small brush and pick a colour for your spots (I used brown and ocher) Tap on your regular brush close to your artwork to create splatter. If you are unsure how this will come out, just test it on a spare sheet of paper first. You can experiment with more colours, water quantity, angles and thicker brushes.
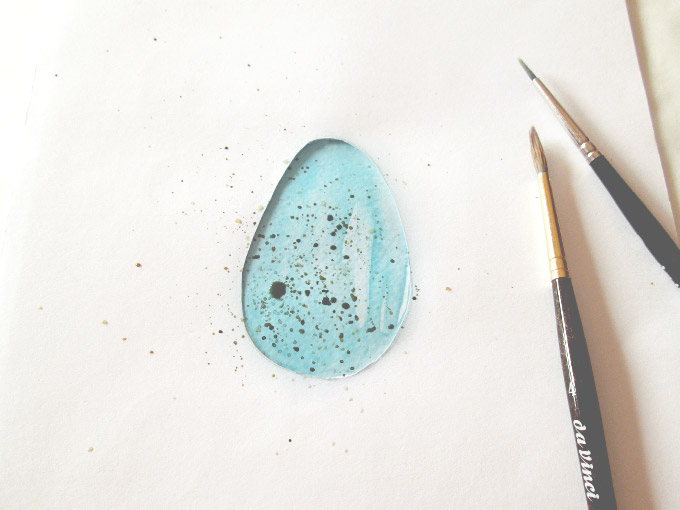
That’s it!
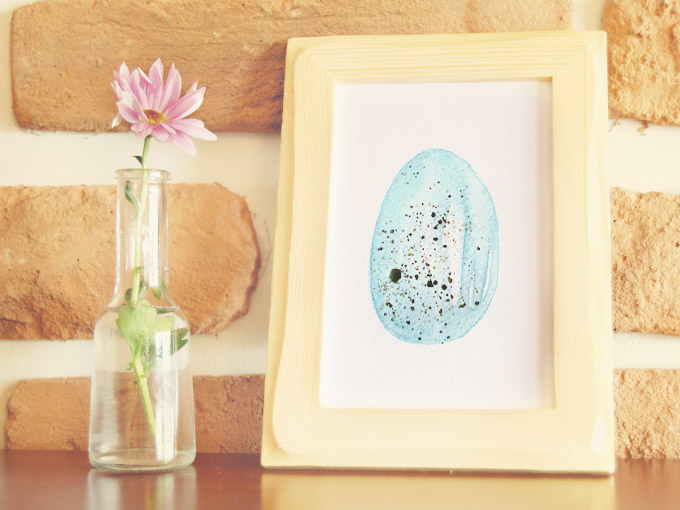
Once the spots are completely dry, remove the stencil and there it is – a beautiful watercolour egg! Now you can add text to the card or use it as an artwork.
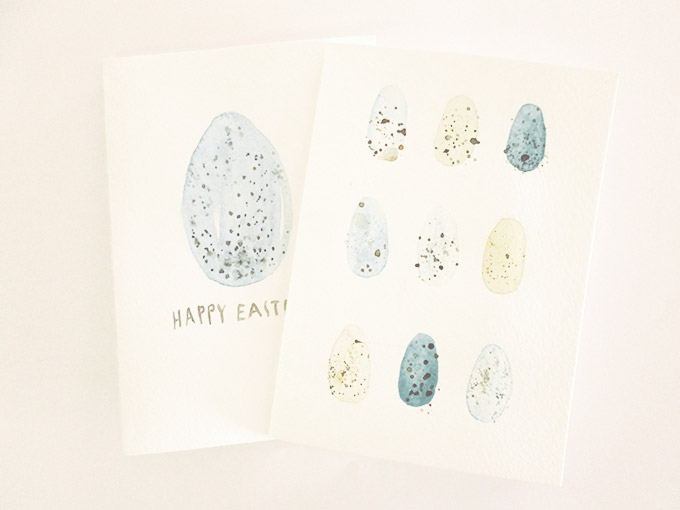
No time for painting?
If you want the watercolour eggs, but don’t have time to paint them yourself, there is a variety of very pretty ready-to-use eggs on Creative Market. Snatch some of them and design your cards without even touching a brush. Here are a couple of watercolour bird eggs that caught my eye:
Share on Pinterest Watercolor Bird Eggs Clip Art by SaylorWolf’s Watercolors
Share on Pinterest Watercolor Bird’s Nest by Digital Press Creation
If you want to make your very own eggs using nothing but Photoshop, you can do that, too! Grab my Watercolour Egg Creator Kit and see what you can do playing with all the eggs, decorations and splatters.
Share on Pinterest Watercolour Egg Creator Kit by Mindful Pixels
You’ve done it!
I hope this little tutorial has given you the opportunity to enjoy watercolours without having to work too hard. Did you like it? Which bird egg did you paint? Give me a sneak peek of your artwork in the comments below, I’d love to see how your eggs turned out.
Products Seen In This Post:
Share on Pinterest Share on Pinterest
 Share on Pinterest

How to Paint Your Own Watercolour Easter Card
No comments:
Post a Comment
Note: Only a member of this blog may post a comment.