Apple’s new photo app, simply called “Photos,” released last month to developers for testing, and to consumers on the public beta. If you’ve signed up for the Yosemite 10.10.3 beta pre-release, you can now get it on your machine. Being a public beta, you don’t need a developer account or special access: just sign up, download, and install the beta utility, and you can receive the update via the App store.
Photos will be replacing both iPhoto and Aperture, so you might as well get used to it. And today, we’re here to help you with some simple tips for using the app more effectively.
The Basics
The program is more user-friendly and less cluttered than either iPhoto or Aperture, operating out of a single window with a sidebar that you turn on and off via the preferences window. In terms of power, it sits somewhere between the two: it offers more customization and functions than iPhoto, but fewer than Aperture.
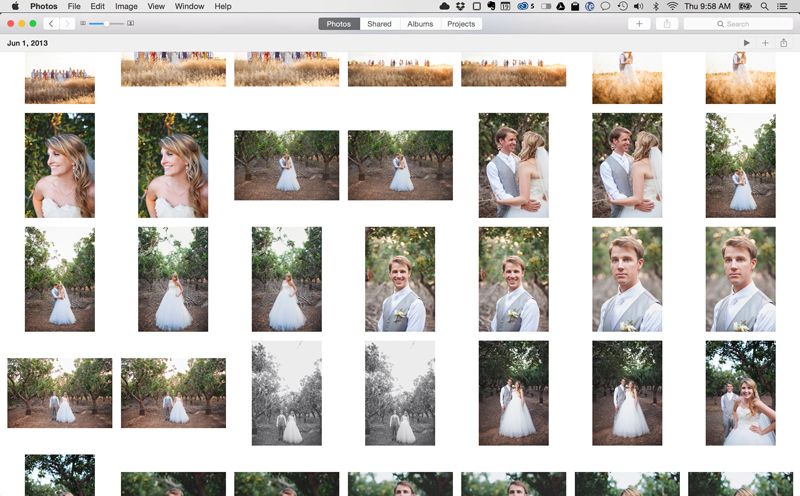
It’s very fast, with incredibly smooth animations and interactions. You can scroll through your images at a lightning pace, and they’ll open with one click, and maximize with another. With the touchpad, you can pinch in and out to zoom, just like on an iOS device.
Getting the images is also incredibly convenient, no matter the source. For those of importing from a DSLR, it can open RAW photos with no conversion or delays. For those of you with iOS devices, PhotoStream is integrated into the program. When you take a picture with an iOS device, it goes straight to your photo library.
1. Open Other Programs’ Libraries
One of the features kicks in before you even open the program: you can use it to open an Aperture or iPhoto library by holding down the Option button while clicking on the icon for the Photos App. You can also create a new one, but be warned that it won’t be backwards-compatible, or able to be opened with any other program.
2. Add and View Info
Control-clicking a photo, or clicking the info icon in the bar at the top right of the screen, brings up a dialogue that shows you the metadata, the camera information (and lens information if applicable), resolution, and size, a feature that was previously available in Aperture. You can also add a title, which is great for searching.

3. Do Some Simple Retouching
Photos allows you to fine-tune a photo’s exposure, highlights, shadows, brightness, contrast, and black point. It also comes with white balance, levels, sharpening, and noise reduction. As a bonus, the Red Eye tool pops up when the photo recognizes that someone in the photo might have red eye.
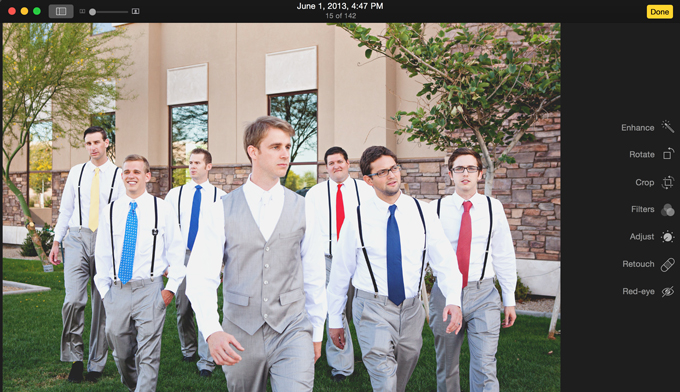
The granular editing is surprisingly lacking; with no smudge, dodge, or burn; but there is a clone stamp. It’s not as powerful as Photoshop, but in the words of Snazzy Labs, “it is pretty easy and foolproof.”
When editing, the program automatically saves the original, eliminating a lot of the potential for editor’s regret.
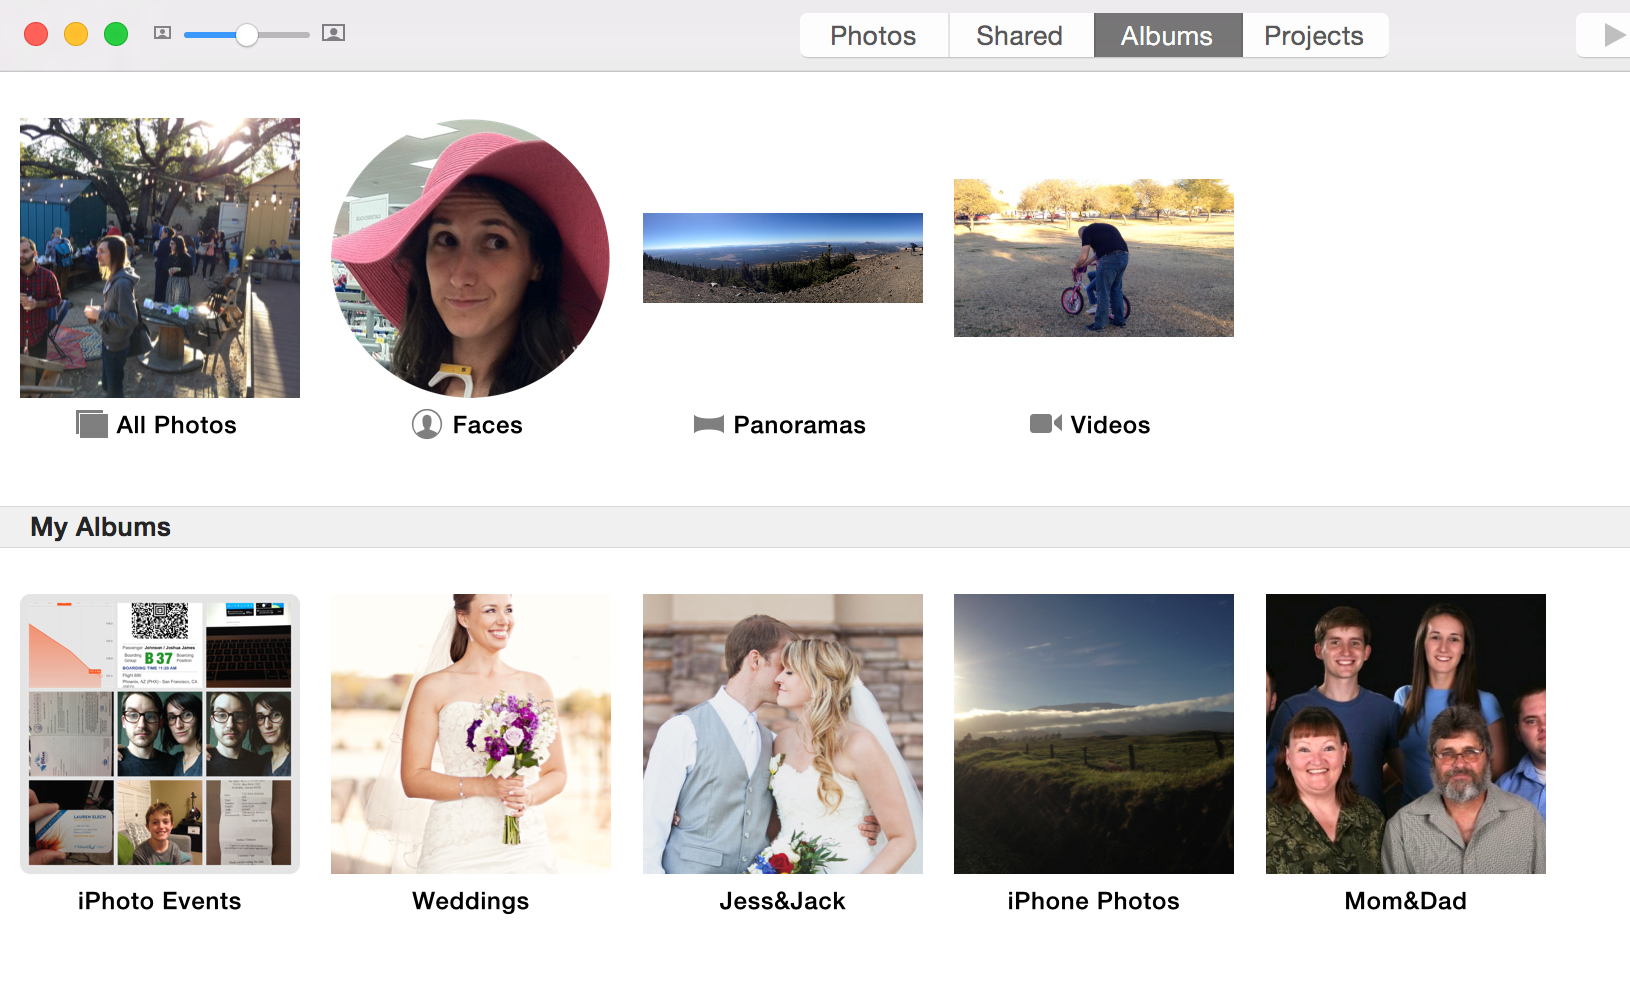
4. Create Smart Albums for Easy Organization
Like both of its predecessor programs, Photos creates Smart Albums based on several factors like photo location, type of photo—panoramas and videos are given their own sections, for example—and what photos you’ve liked; they’ve taken away the ability to rate photos, but you can still like them for a simpler organization method.
5. Sync Photos To iCloud
If you shoot with a DSLR, especially in RAW, I’m sure you know how quickly high-res photos can gobble up memory. This is a problem, since iCloud comes with only 5 gigs of free memory, and if you try to sync an entire device’s contents, it can easily consume all of that at once. That’s where albums come in. If you have just a few photos you want on your cloud, you can simply create an album and sync only that.
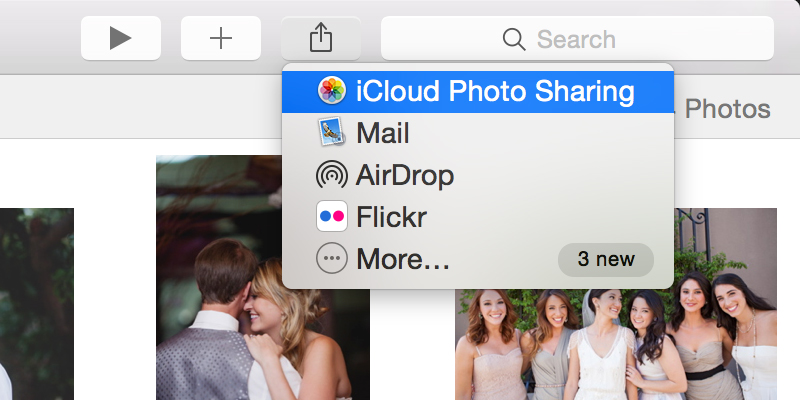
To make an album, go into the event folder. You’ll see albums, then click the plus sign on top of the folder. After you name it and select the photos you want in it via the windows that will come up, it’s easy to sync it to your iCloud: simply hit “share image” and select iCloud photo sharing.
You can also import anything from Aperture or iPhoto, but it creates a whole new library and copies it, so it doesn’t let you manipulate an existing library like iPhoto or Aperture.
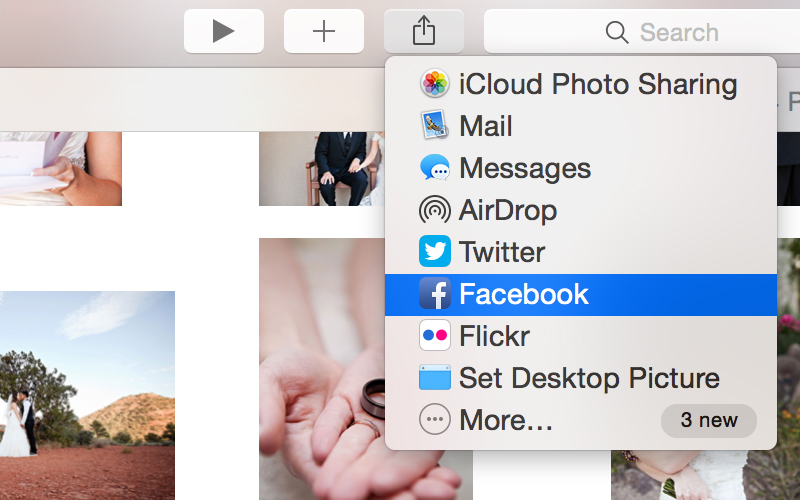
6. Share To Social Networks
If you want to share a photo, just right-click and share, then you have all our OS X options for sharing. Post to Facebook, Flickr, Twitter, Airdrop, or IM it. You can also text message it or send it as an email.
You can tag your friends as well, or rely on the program to do it for you. The program’s pretty good at facial detection: not quite as good as Facebook’s, but still quite competent, and an improvement over iPhoto’s.
7. Learn Some Helpful Keyboard Shortcuts
Mastering keyboard shortcuts is the key to efficiency in any application. Here are a few important shortcuts to start you off. Import is Command-Shift-I, and Export Photos is Command-Shift-E. New album is Command-N, and Command-Option-N makes a new Smart Album.
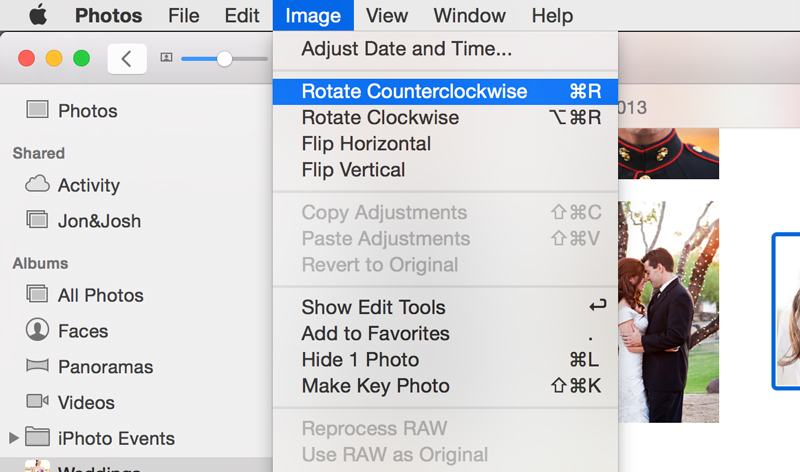
To rotate an image clockwise or counterclockwise, hit Command-R or Command-Option-R, respectively. To hide it, Command-L. If you want to view one in full-screen, Command-Shift-F. To select an image as a key photo, option-Command-K. Command-K by itself opens the keyword manager.
Upon opening the program for the first time, there’s one keyboard shortcut you might want to know most of all…
8. Get Your Sidebar Back
For those of you who were used to iPhoto, you might find the program’s initial lack of a sidebar a bit weird. Don’t worry: getting it back is simple: Just find “Show Sidebar” in the view menu (right under “Projects”), or hit Command-Option-S.
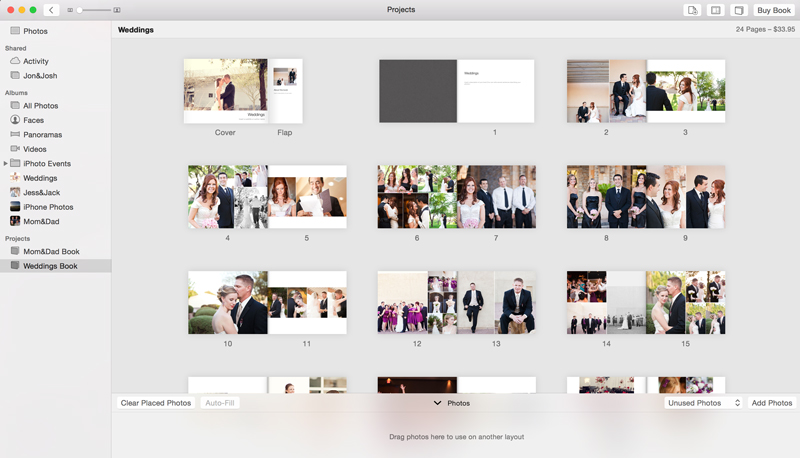
9. Use Projects to Make Dirt-Cheap Keepsakes
The Projects tab allows you to send orders for books, calendars, cards, prints, and posters of your images to Apple, to be shipped to the address of your choice for an amount automatically deducted from your iCloud account. It’s gotten both cheaper and more user-friendly since iPhoto and Aperture. Prints start at just over a dime, and folding cards at .50. Not to mention they can be mailed to the address of your choice.
10. Miss Aperture? Try Lightroom Instead
While Photos feels like a refreshingly simplified version of iPhoto, I suspect that former Aperture users will be deeply disappointed in its feature set. Photos is great for most people’s needs, but is far from the professional powerhouse of photography tools that Aperture users are accustomed to.
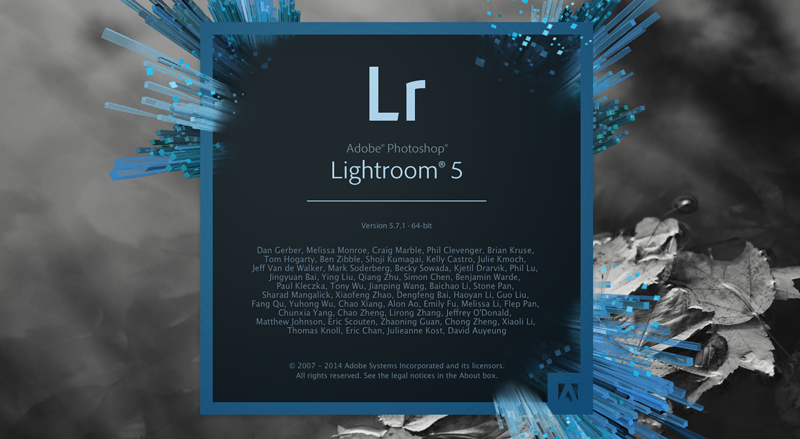
Anyone looking for a new go-to application to replace Aperture in their workflow should definitely check out Adobe Lightroom instead. Lightroom is very similar to Aperture and has become the industry standard for professional photographers all over the world.
What Do You Think of Photos?
Basically a desktop version of the iOS app, Photos is nowhere near the professional, or even prosumer level when it comes to editing. But it’s very competent for sorting, organizing, searching, and quickly sharing your photos either online or off.
Any comments, tips, or additional hacks you’ve discovered? Please let us know in the comments.
10 Tips for Using Apple"s New Photos App
No comments:
Post a Comment
Note: Only a member of this blog may post a comment.